How to Install Shutters on Bay Windows
Follow our step-by-step guide to fitting shutters on bay windows. We walk you through everything from assembling your frames to hanging your panels.
What you’ll receive
Your shutters will arrive in a few parts:
- Rectangular boxes containing your shutter panels
- Long boxes containing your frames
- A hardware box with everything you need for installation (packed inside the frame box)
Before you start
Bay windows can take a little more time to install, so we recommend checking all parts and laying everything out before you begin.
Make sure you have these tools ready before you begin:
- Small hammer or rubber mallet
- Phillips screwdriver (star)
- Electric drill
- Spirit level
- Suitable fixings for your wall type (e.g. rawl plugs)
- Decorator’s caulk
- Packing materials (cardboard, shims or wedges)
- Learn what’s included in your shutter installation kit
Step 1: Assemble your shutter
We recommend assembling your shutter on top of the flattened cardboard packaging to help protect the shutter’s finish.
-
Prepare your frame
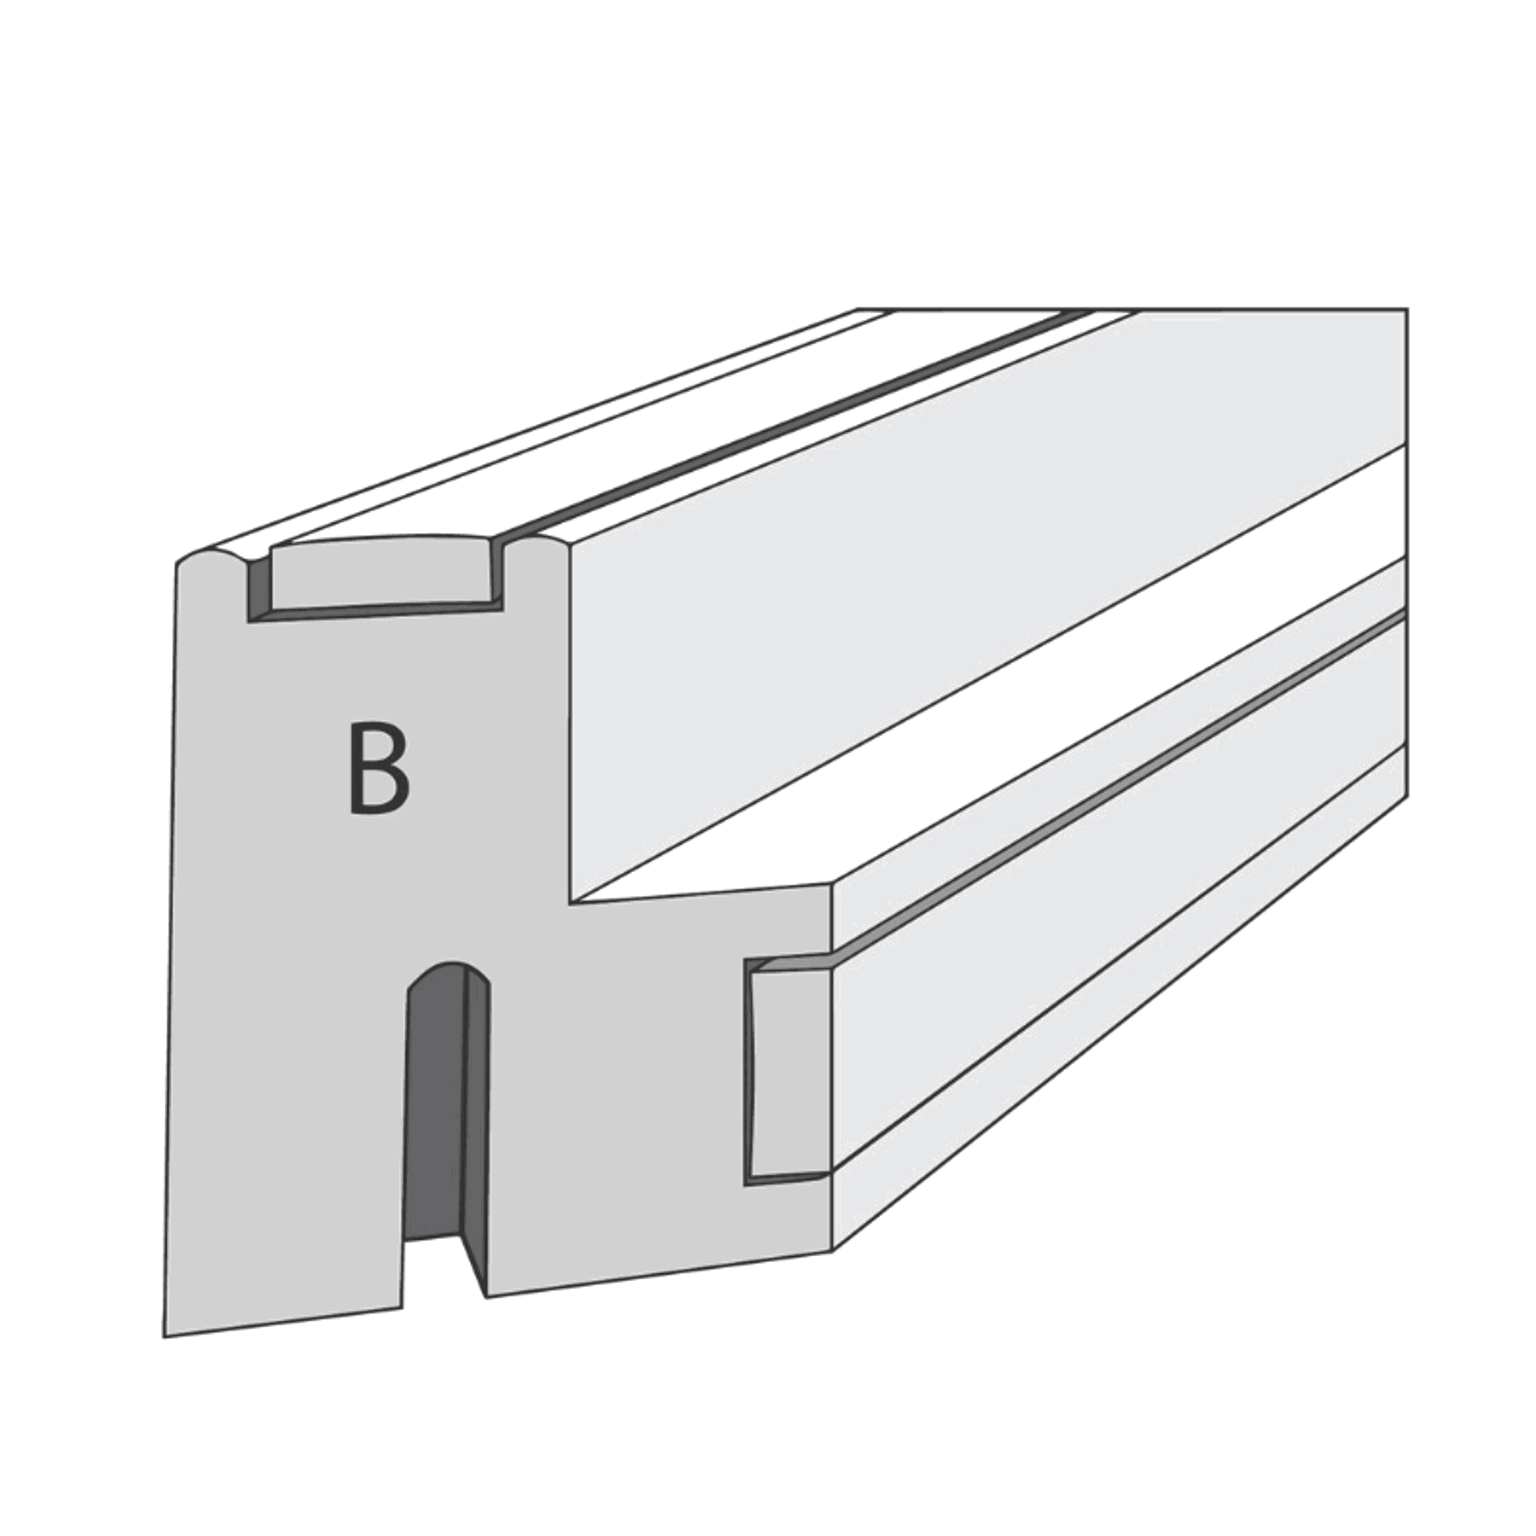
Remove the cover strips from the frame pieces and place them front-face down on the floor. Each frame side is labelled on the mitred corner to show where it fits:
Faux Wood & Hardwood (no T-posts): T = Top / B = Bottom / L = Left / R = Right
Hardwood (1 T-post): 1 = Left / 3 = Right / T = Top / B = Bottom
Hardwood (2 T-posts): 1 = Left / 4 = Right / T = Top / B = Bottom
-
Connect the frame
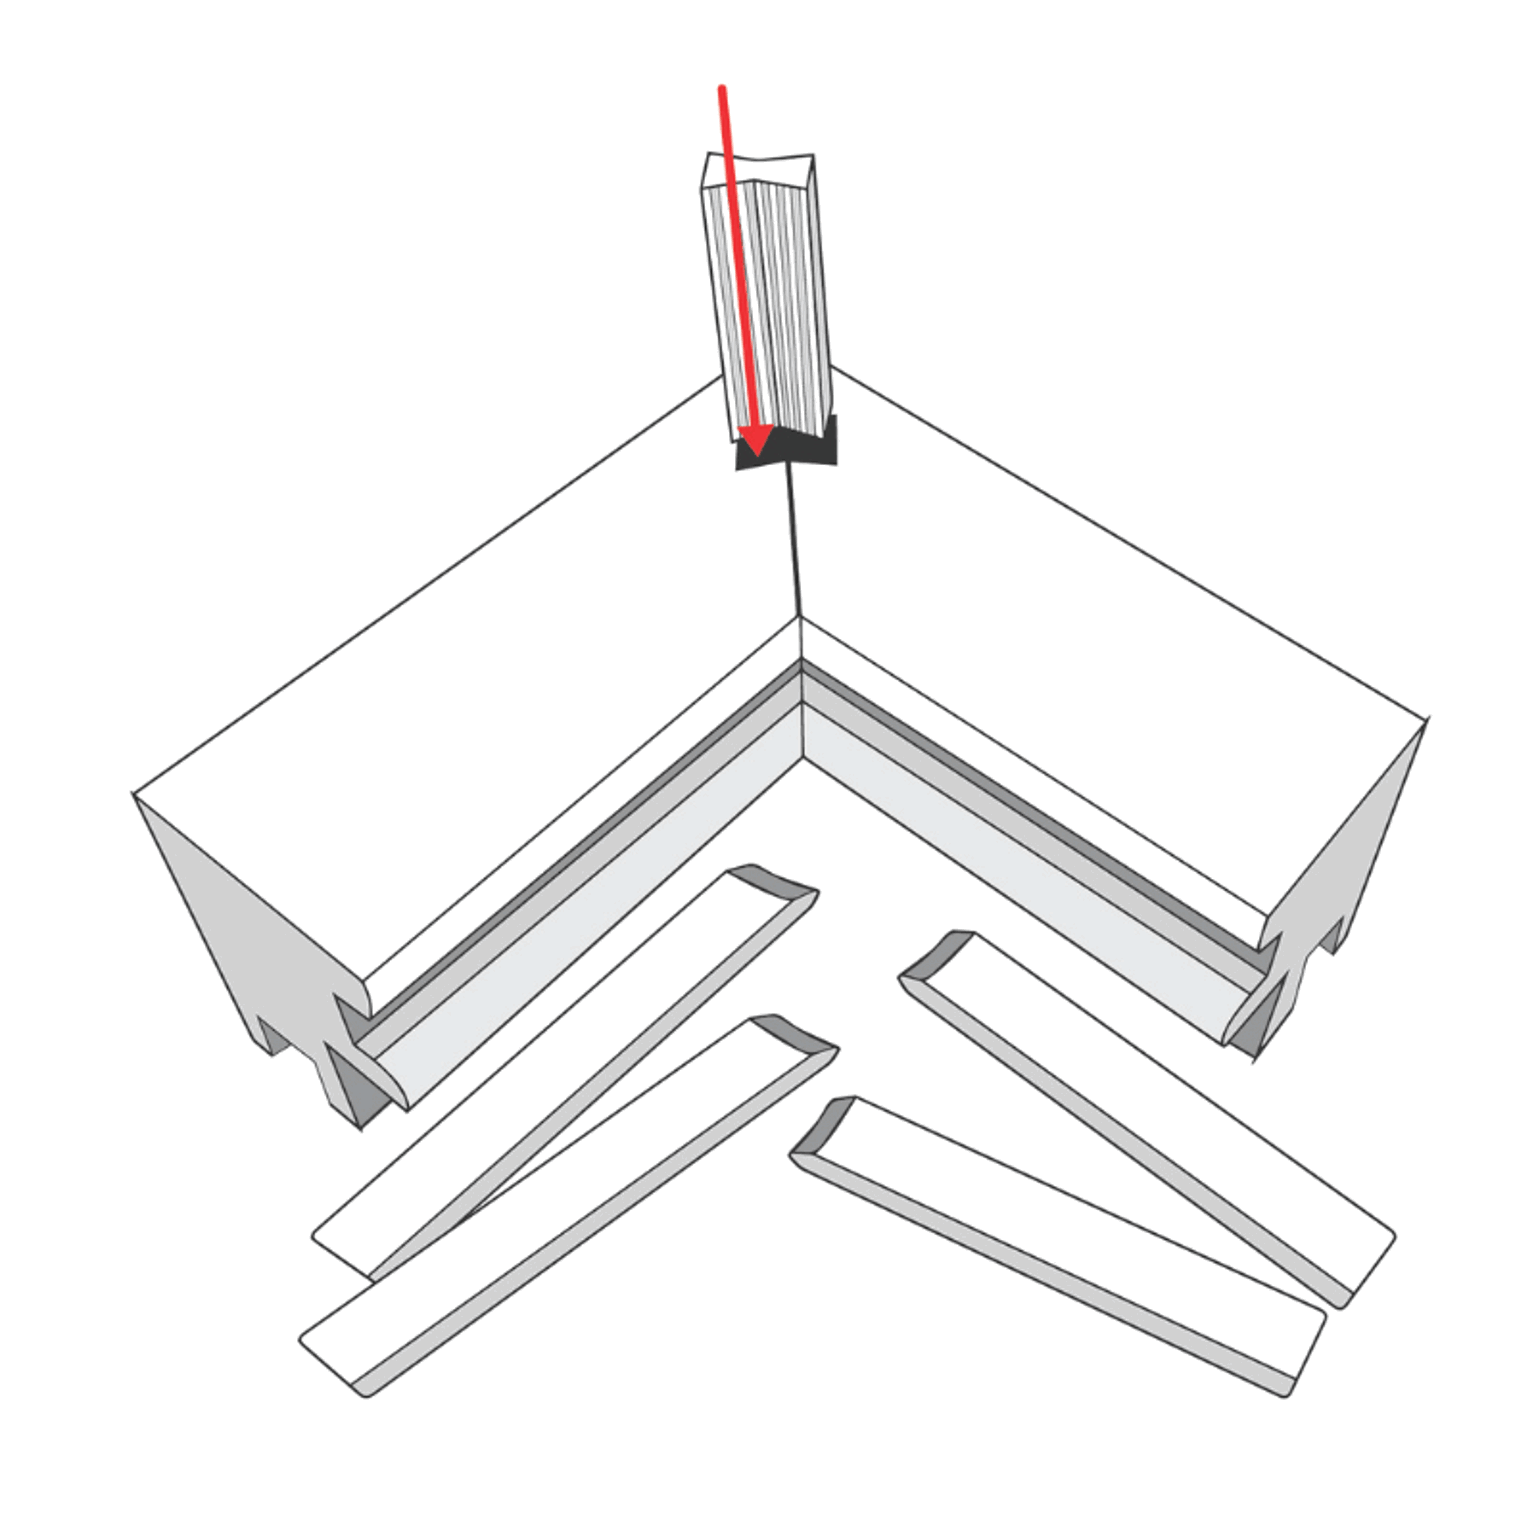
At each corner, you’ll see a bowtie-shaped hole. Insert the plastic Hoffman keys to join the frame sides. Cover the frame with a cloth or cardboard, then gently tap the joints together using a rubber mallet.
-
Large Frames
If you’ve ordered a large frame, the build-out may arrive separately (depending on the product). Attach this to the back of the frame at this stage.
-
Adding T-posts or T-bars (if included)
If your design includes a T-post or T-bar, fit this into the frame using the pre-drilled holes. T-posts are labelled to guide placement:
T-post labels:
Faux Wood: T1 = first T-post / T2 = second T-post (left to right)
Hardwood: 2 = first T-post / 3 = second T-post (left to right)
T-bar:
Faux Wood: T
Hardwood: M


Step 2: Fix your shutter frame into position
-
Lift your assembled frame into place and position it where you took your measurements.
-
Start by fixing the frame using just a few screws. This allows a little movement while you hang the panels, so you can adjust the position and get everything aligned perfectly.
We recommend using: 1 screw in the top and bottom, or 1 screw in the left and right sides
If your window isn’t level
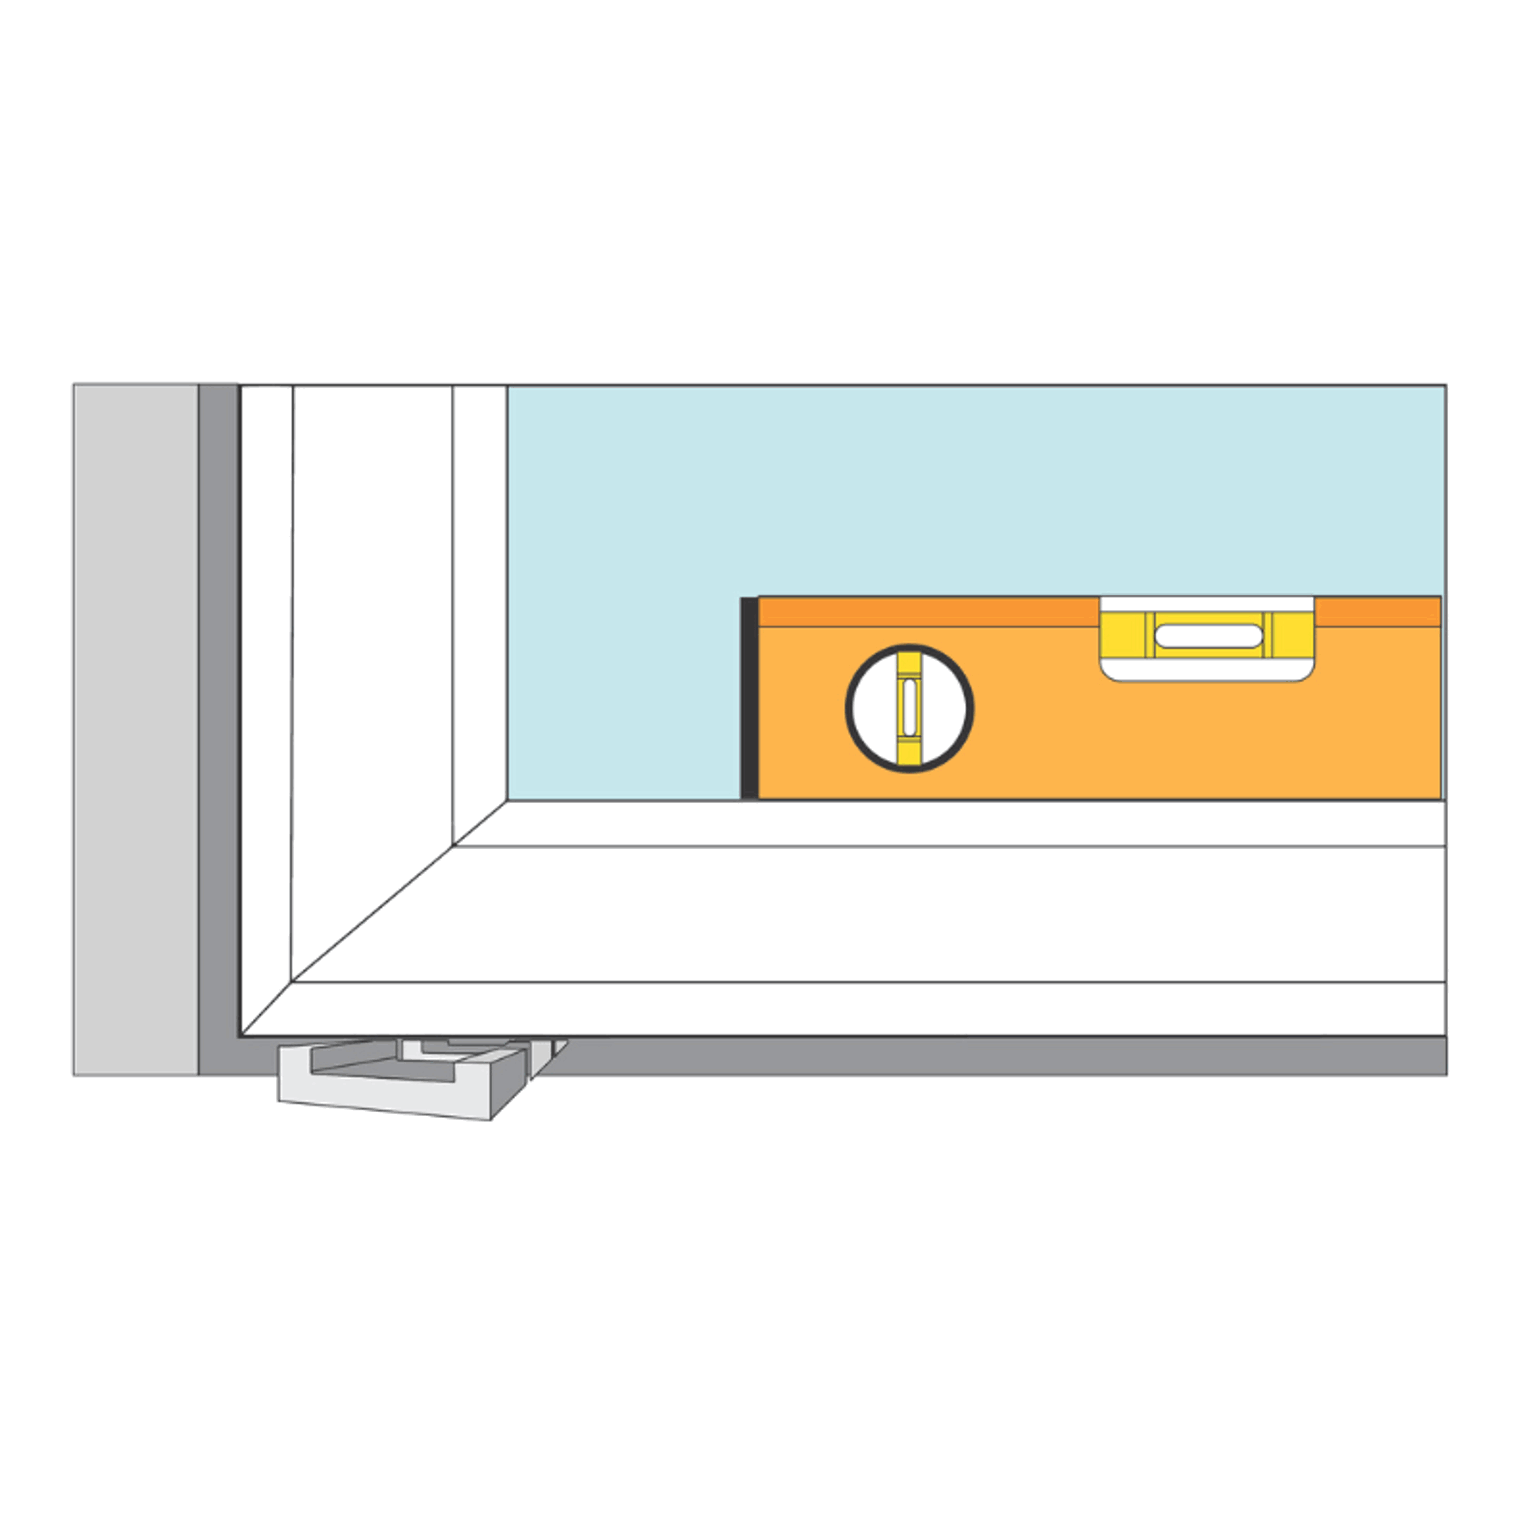
Use a spirit level to check the frame. If needed, pack underneath using a shim, wedge or small piece of card to level it out. Position the packing so it stays hidden, and fill any small gaps with decorator’s caulk once installation is complete.
Tip: If fixing into masonry, drill the hole first and use the correct wall plug. If fixing into uPVC, stop drilling as soon as you feel the screw start to bite
Step 3: Hang your panels
-
To attach the panels, line up the pre-fitted hinges on the frame and panels, then drop the hinge pin into place to secure them. Repeat this for each panel.
Important
The slats will always close upwards.
If you have a central tilt rod, the hole it slots into will be at the top of the panel.
For hidden or clearview tilt rods, there will be a rebate in the top rail for the top slat to close into.
-
Panel order
Make sure each panel is hung in the correct position. Panels are labelled 01, 02, 03, 04, working from left to right (and top to bottom for tier-on-tier designs).
-
Adjusting your panels
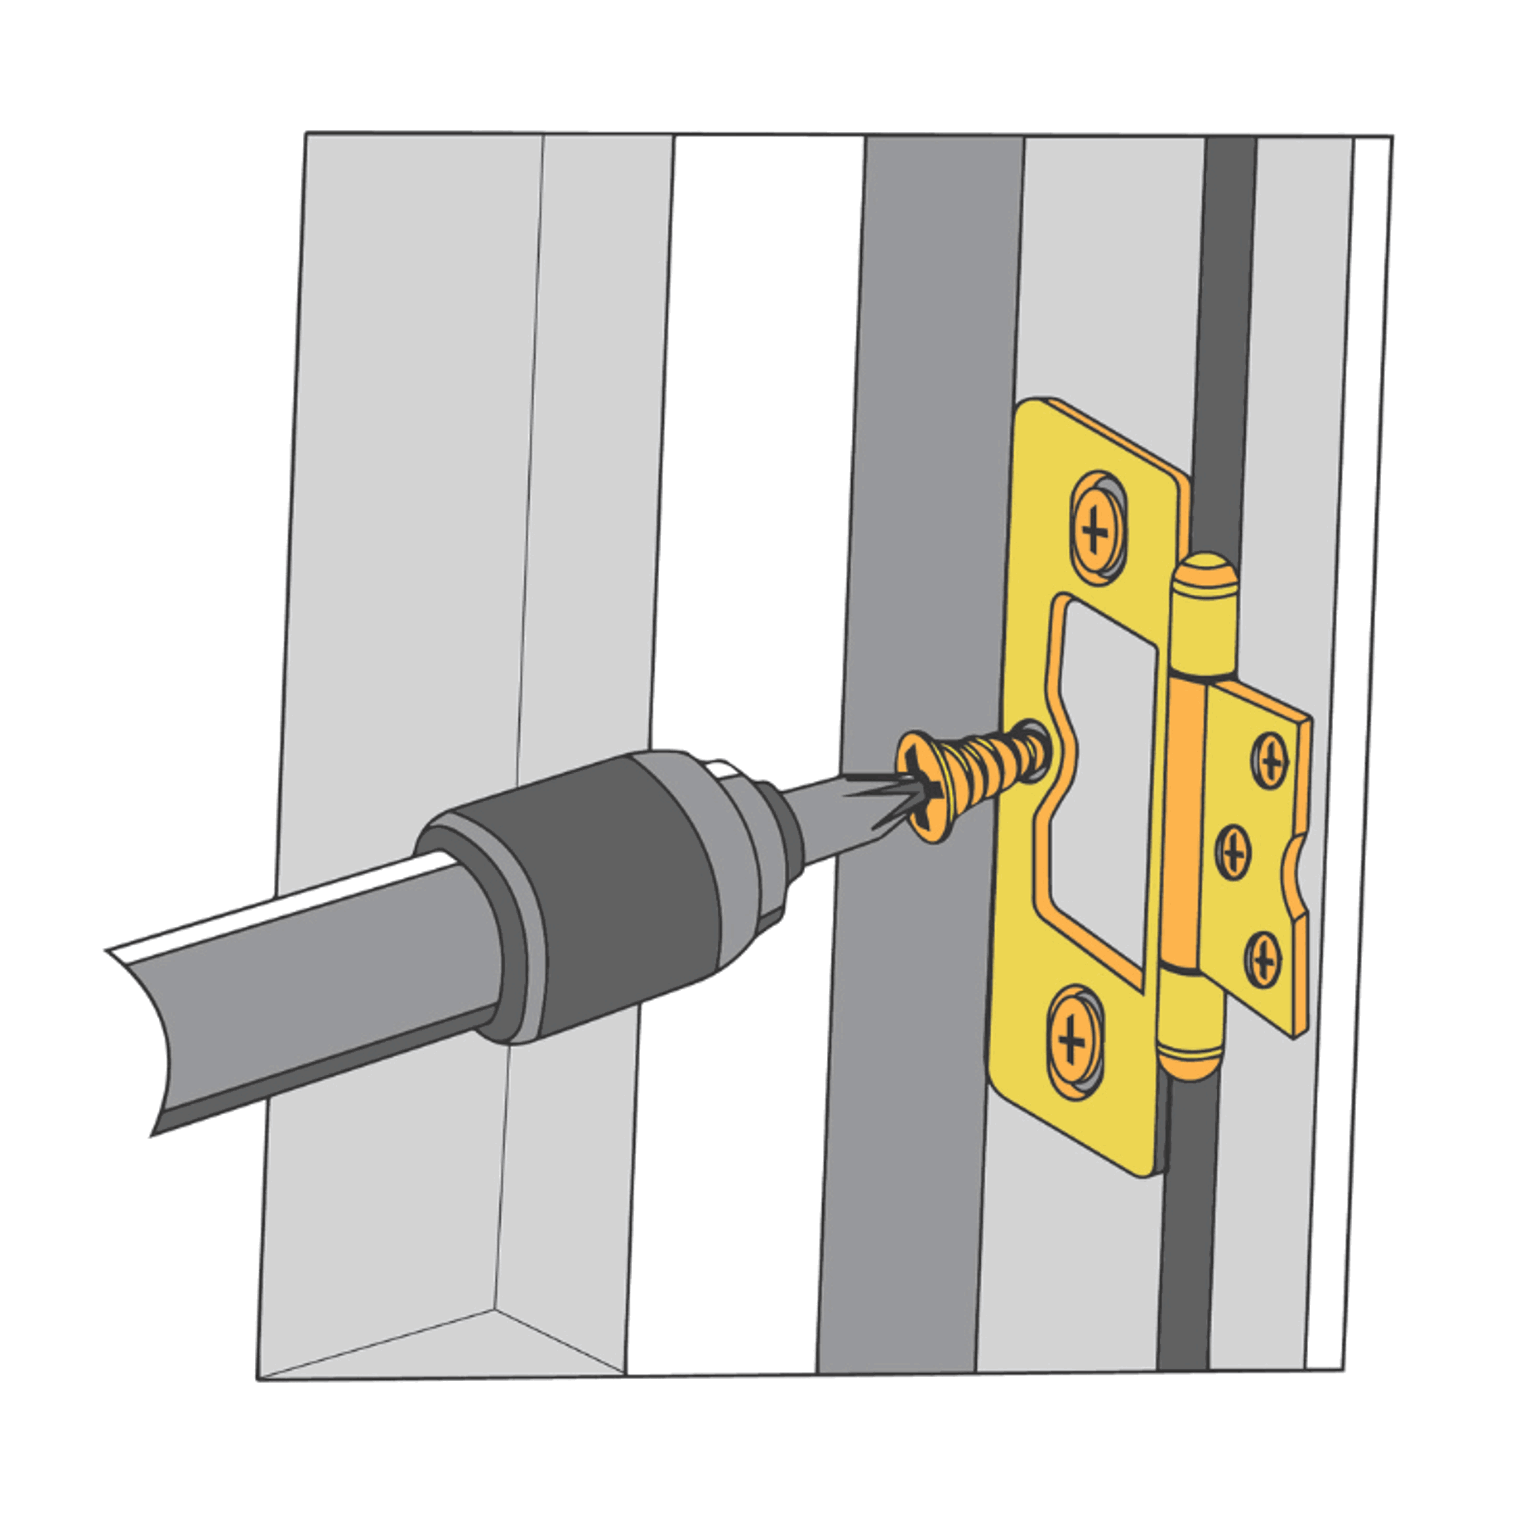
If needed, you can adjust the hinges on the frame to get everything aligned and opening smoothly. Once you’re happy with how the panels sit, insert the final hinge screw to secure them in place.
Step 4: Finishing touches
-
Once you’re happy with the positioning, fully secure the frame using all the screws provided.
-
Fit the cover strips or cover stickers into place to neatly conceal the screws.
-
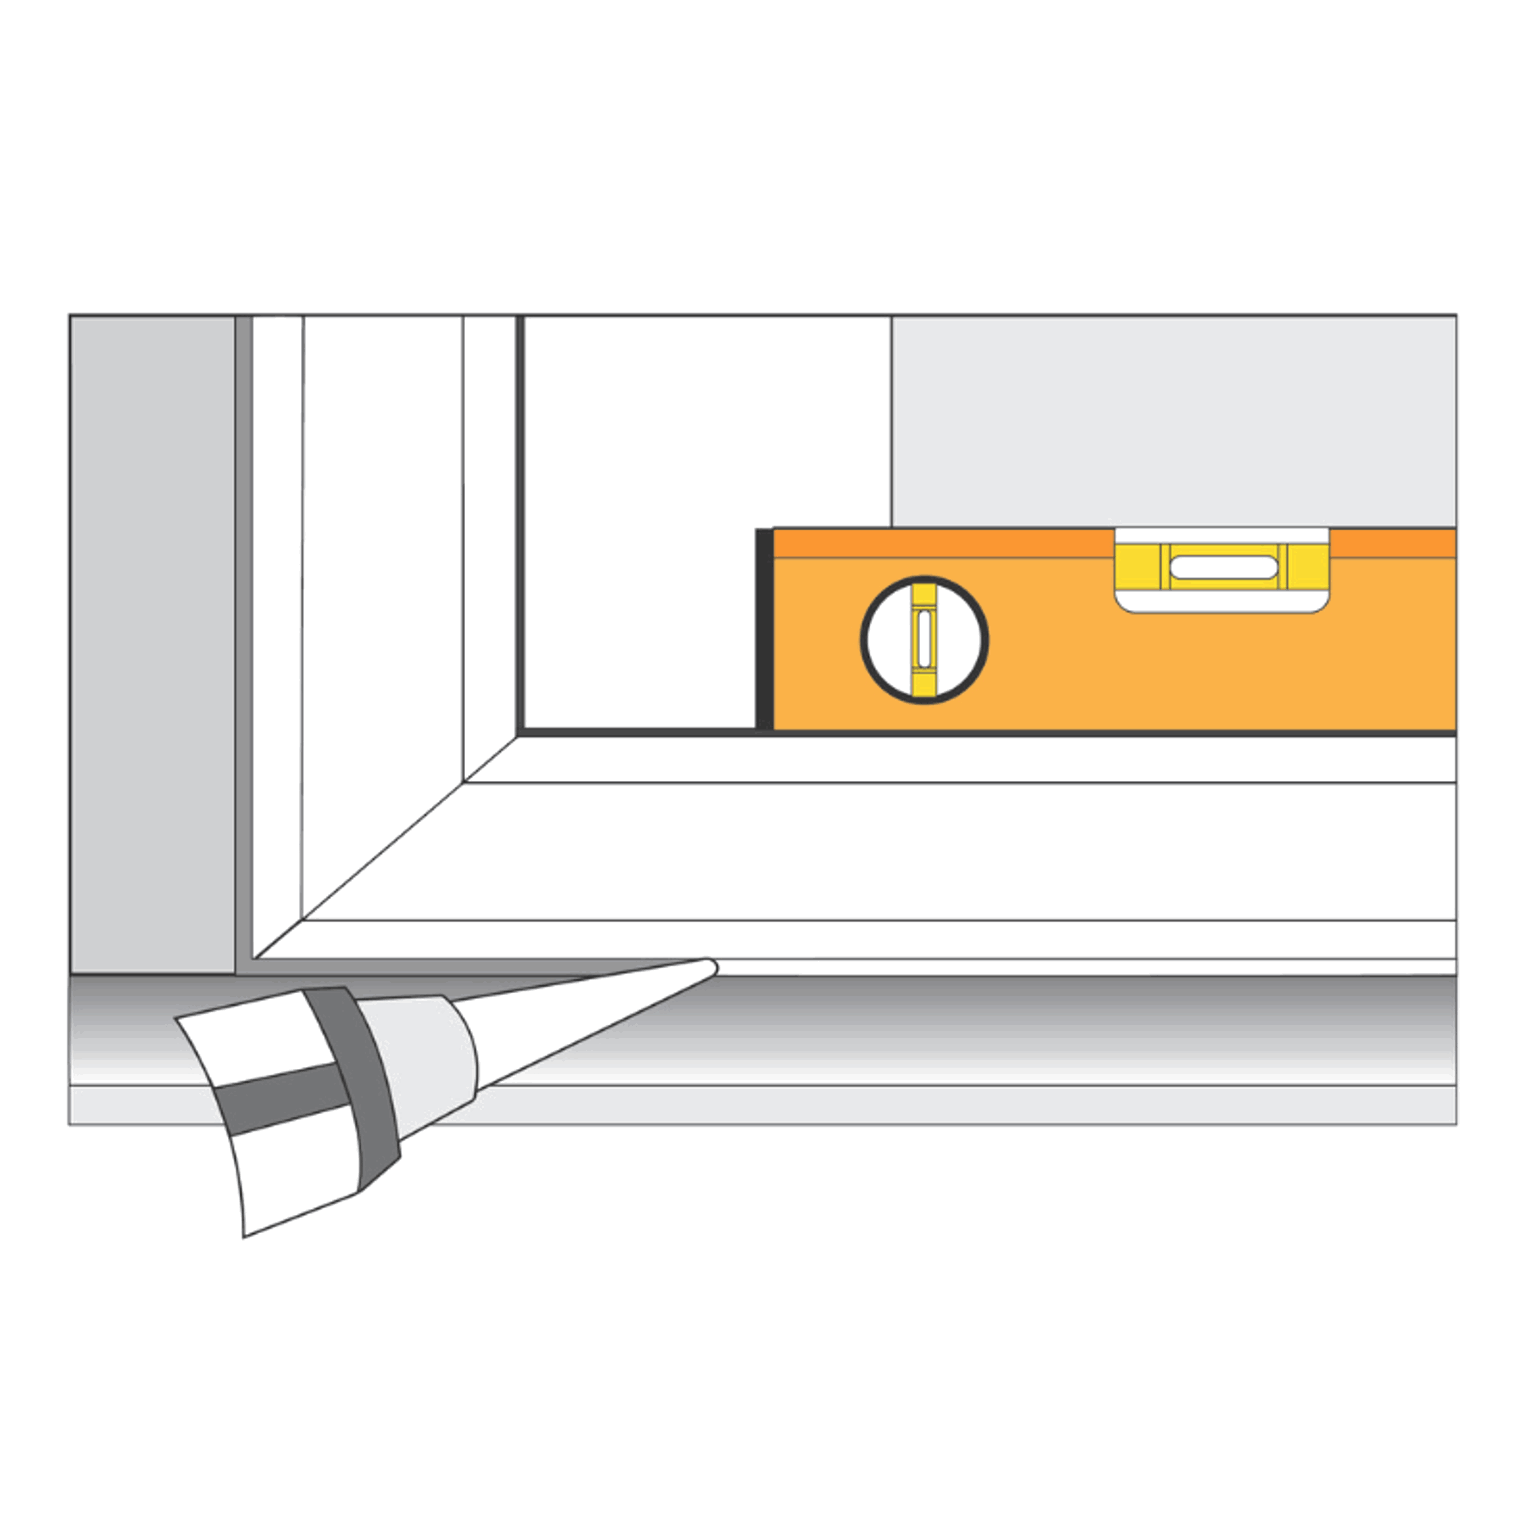
If there are any small gaps between the frame and the wall, these can be filled with decorator’s caulk for a clean finish.