
Tier on Tier Shutters
For total control over light and privacy, tier on tier shutters are the ultimate choice. These versatile tier shutters feature independent top and bottom sections, designed for a straightforward DIY fit that delivers a bespoke look for less.
For total control over light and privacy, tier on tier shutters are the ultimate choice. These versatile tier shutters feature independent top and bot...

Add measurements to see prices for your own window. How to measure.
FAQs about Tier on Tier Shutters
Tier on tier shutters are the most versatile shutter style you can choose. They feature two separate sets of panels, one stacked above the other so you can open and close the top and bottom independently. This means you can let in plenty of daylight at the top while keeping the bottom closed for privacy. It's the best of both worlds, and especially handy for homes facing the street or with tall windows.
Yes, tier on tier plantation shutters are typically a bit more expensive than simpler styles like full height shutters or café style shutters. That's because they have extra moving parts and a more complex frame design, giving you that added flexibility. But for many, the extra control over light and privacy is well worth the investment, especially in living rooms or bedrooms with street-facing windows.
Measuring for tier shutters is just like measuring for other styles but with one extra decision, where you want the top and bottom sections to split. You'll measure the window's width and height, then decide the split point (usually halfway up, or in line with a window feature). We make it easy, just follow our shutter measuring guides for a clear, step-by-step walkthrough, including how to choose the perfect split height.
Installing tier on tier window shutters is completely DIY-friendly. You'll start by assembling the frame and securing it to your window. Then you'll mount the top and bottom panels separately, making sure everything is level and moving freely. No need to figure it out alone, our shutter installation guide has everything you need, from tools to tips. With a little time and care, you'll have beautifully fitted shutters that look like a professional job.
Related articles
Related articles
How to design your Tier on Tier Shutter
Why should I choose a Tier on Tier shutter?
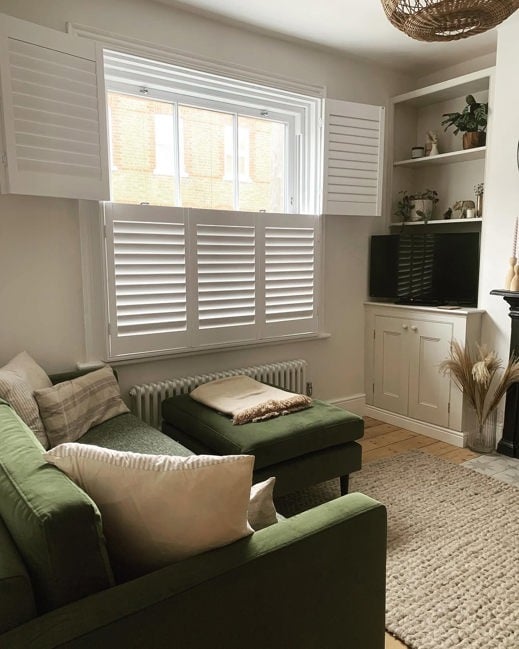
Tier on tier shutters are designed to let you open the top shutter panels independently from the lower panels. These are a great choice if you are concerned about privacy but still want to allow maximum light into your room.
Tier on tier shutters work well if you are going to open the top panels on a regular basis. If you are likely to leave the top panels closed, a better option might be full height shutters.
Will Tier on Tier work well on my window?
The size and shape of your window is key to determining if Tier on Tier will be a suitable design for your window. Tier on tier works well on tall windows. The window must be taller than it is wide for the panels to be properly supported. An example of a window that works well with this design is a sash window. If your window is wider than it is tall, a full height shutter may be a more appropriate design.
How many panels should I choose?
The first factor to consider when choosing the number of panels is the design of the window. For example, if the window is divided into three even sections, you could opt for three panels on each tier of your shutter.
It is best to select narrow width panels that fold onto each other in a tier on tier design, as the top panels will be open frequently. This means selecting a higher number of panels.
Where should I put my Tier on Tier divide point?
The location of your divide point will be dictated by the design of your window. There is often a divide in the window, such as a transom or meeting rails on a sash window. It is best to align the shutters' divide point with this divide in the window.
It is best for the design if the divide point is fairly close to the middle of the shutter. If you need to place the divide point quite high up the shutter and have a small top panel, you may instead want to go for a full height shutter.
Here at DIY Shutters, our Tier on tier shutters feature a T-Bar. When measuring for the divide point, you are measuring to the centre of where you want the T-Bar to go. This will be from the bottom of the shutter to the centre of the transom or rail in the window.
What is a T-Bar?
A T-Bar is a piece of horizontal frame that will sit between the top and bottom panels. It provides the top panels a frame side to rest upon when closed.
It is important to note that the T-Bar is fixed and cannot be removed.
What if my window is too wide for one shutter?
If your window is larger than the maximum limitation for shutters, we instead advise opting for a Full Height shutter. You can split up the window to have multiple shutter frames.