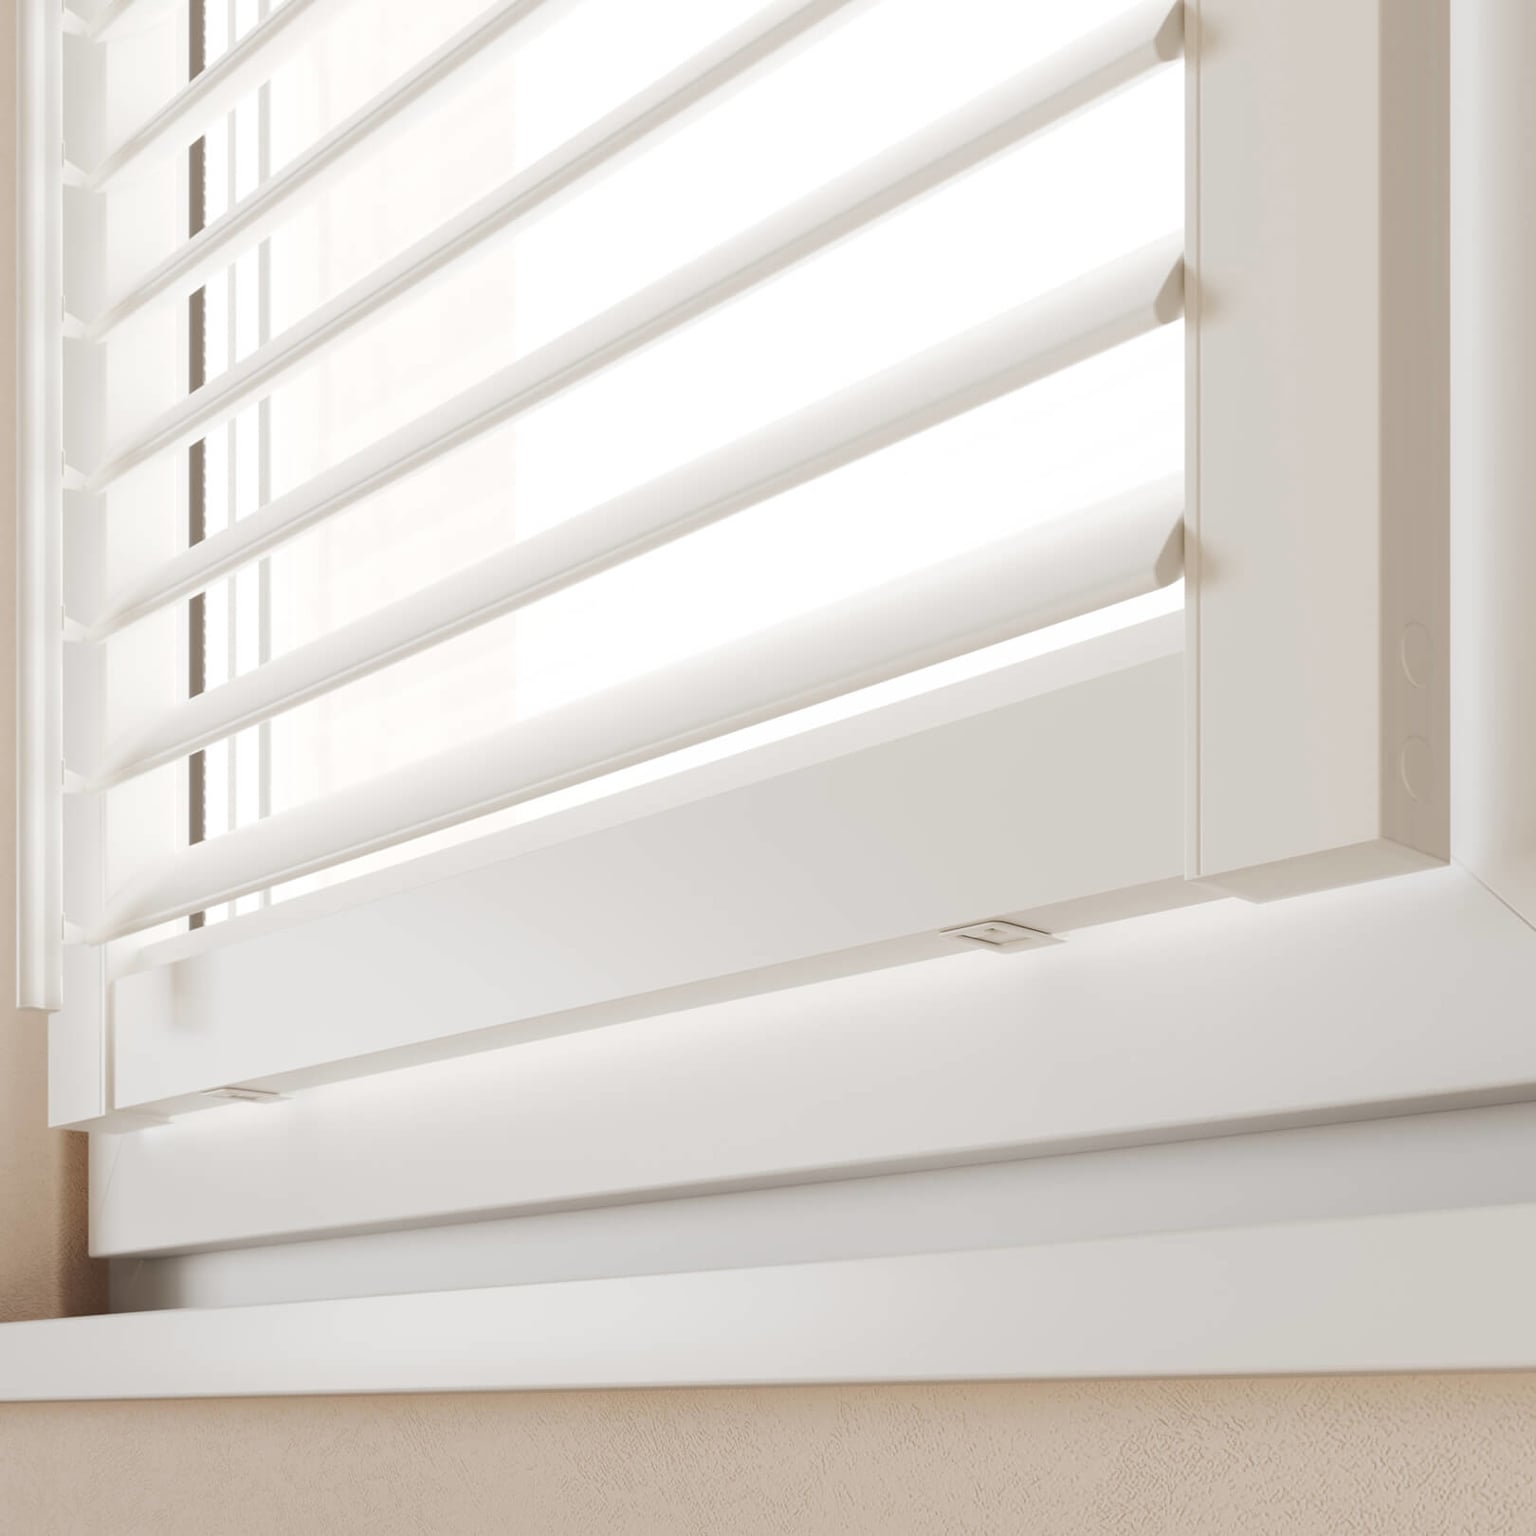
How to Install Perfect Fit Shutters
Perfect Fit shutters are designed to make installation as easy peasy. With no drilling or tools needed, just follow our two-step guide and your shutters will be up and looking great in minutes.
What you’ll receive
- Perfect Fit shutter panels
- Frame brackets
Before you start
- You’ll just need: A credit or debit card
- No tools needed. Your shutters simply clip into place.
Step 1: Position the brackets
-
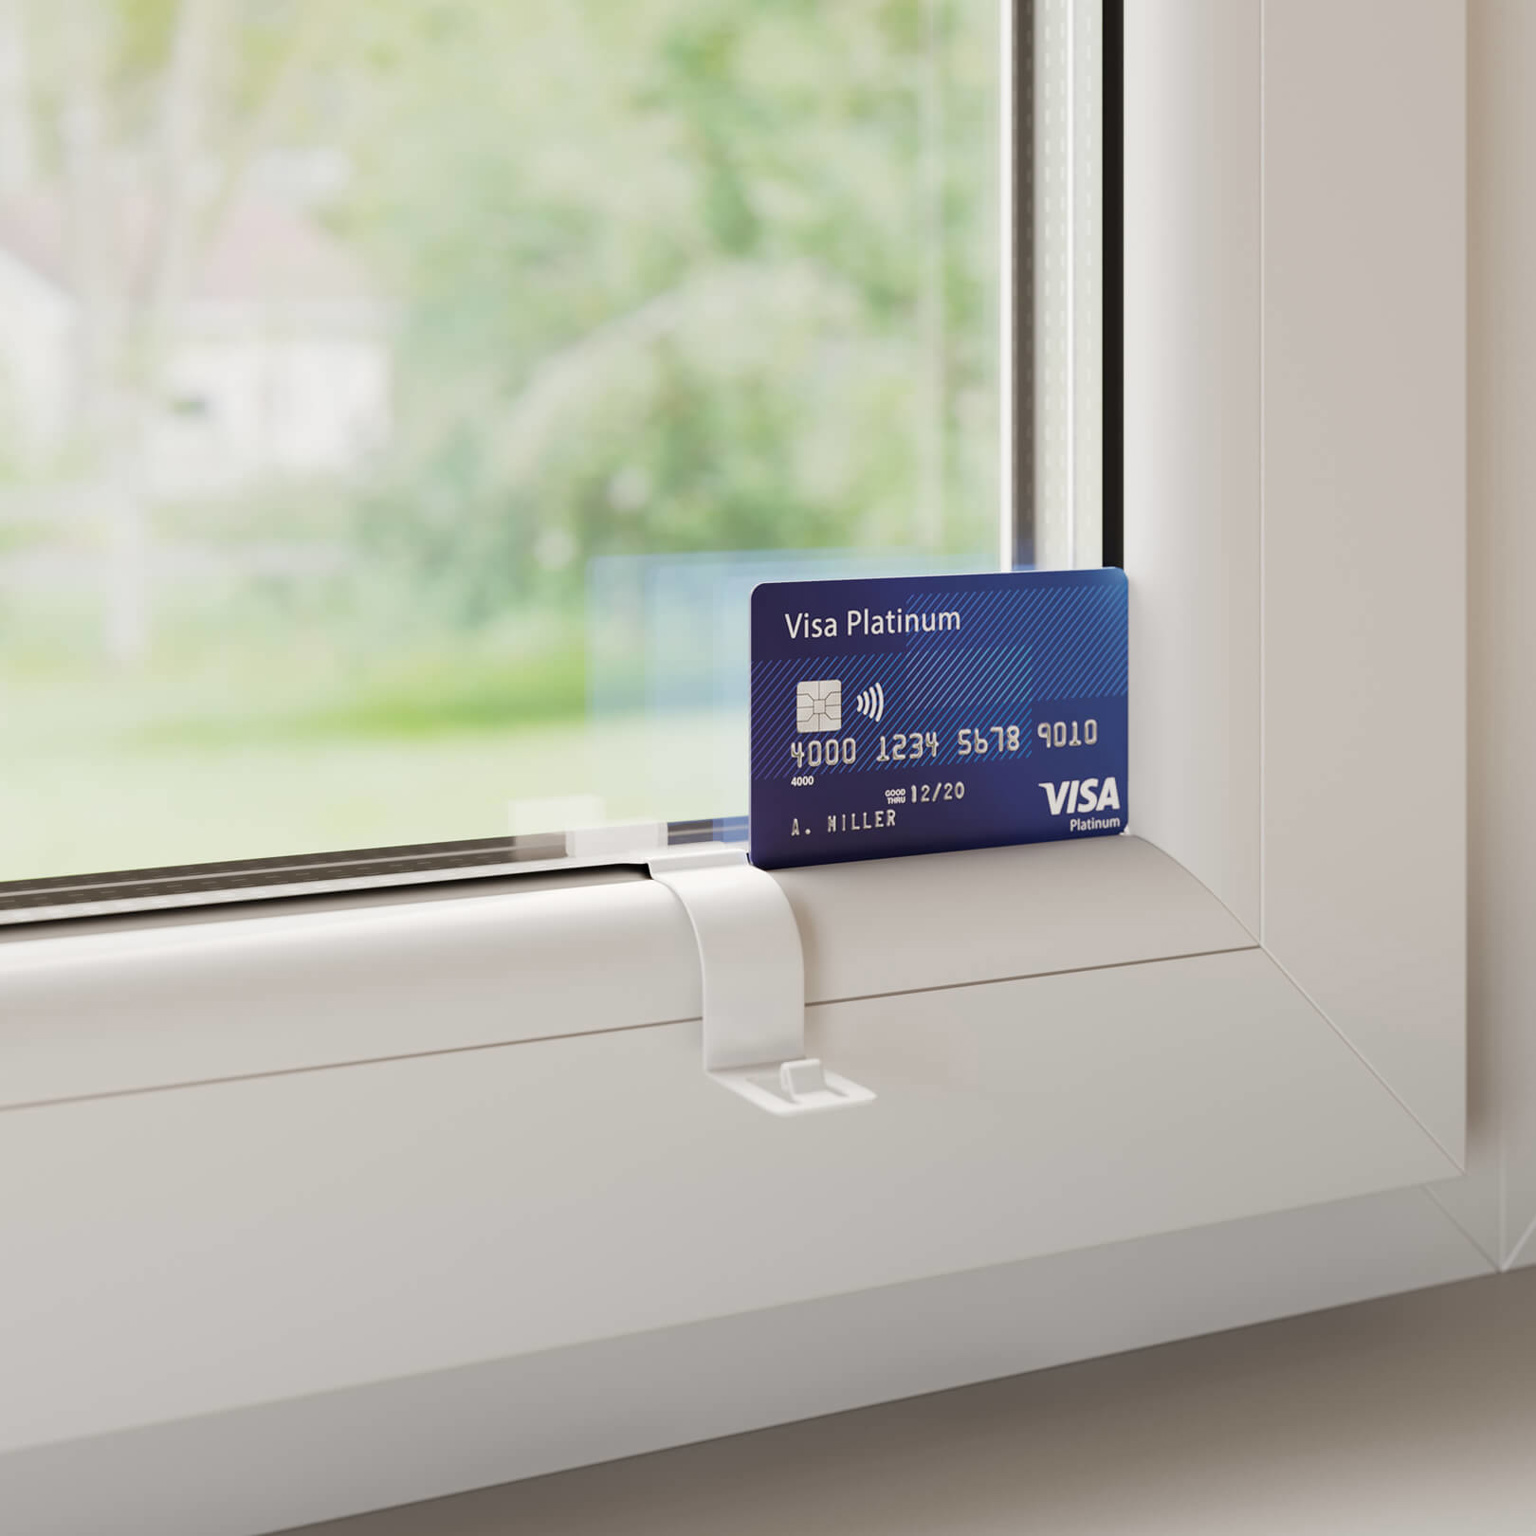
Take a standard debit or credit card and place it in the corner of the glass, as shown below. Use the edge of the card as a guide to position the bracket.
-
Slide the bracket gently between the glass and the black seal. Repeat this at both the top and bottom of the window.
How many brackets will I need?
Every Perfect Fit shutter blind uses at least four brackets - two at the top and two at the bottom.
If your panel is over 900mm in height, you’ll receive two additional brackets. These should be positioned in the middle of the left and right sides.
Step 2: Clip in the panels
-
Line up the notches on the top of the panel with the top brackets.
-
Then gently push the panel towards the window until it clicks into the bottom brackets.
-
If your shutter includes side brackets, make sure these are also clipped securely into place.
And that’s it. Your shutters are installed and ready to enjoy.