How to Measure for Bay Window Shutters
This guide shows you how to measure bay windows for shutters. It covers angled, curved, and box bays, with both in-recess and non-recess fitting options. Follow each step carefully to ensure accurate measurements.
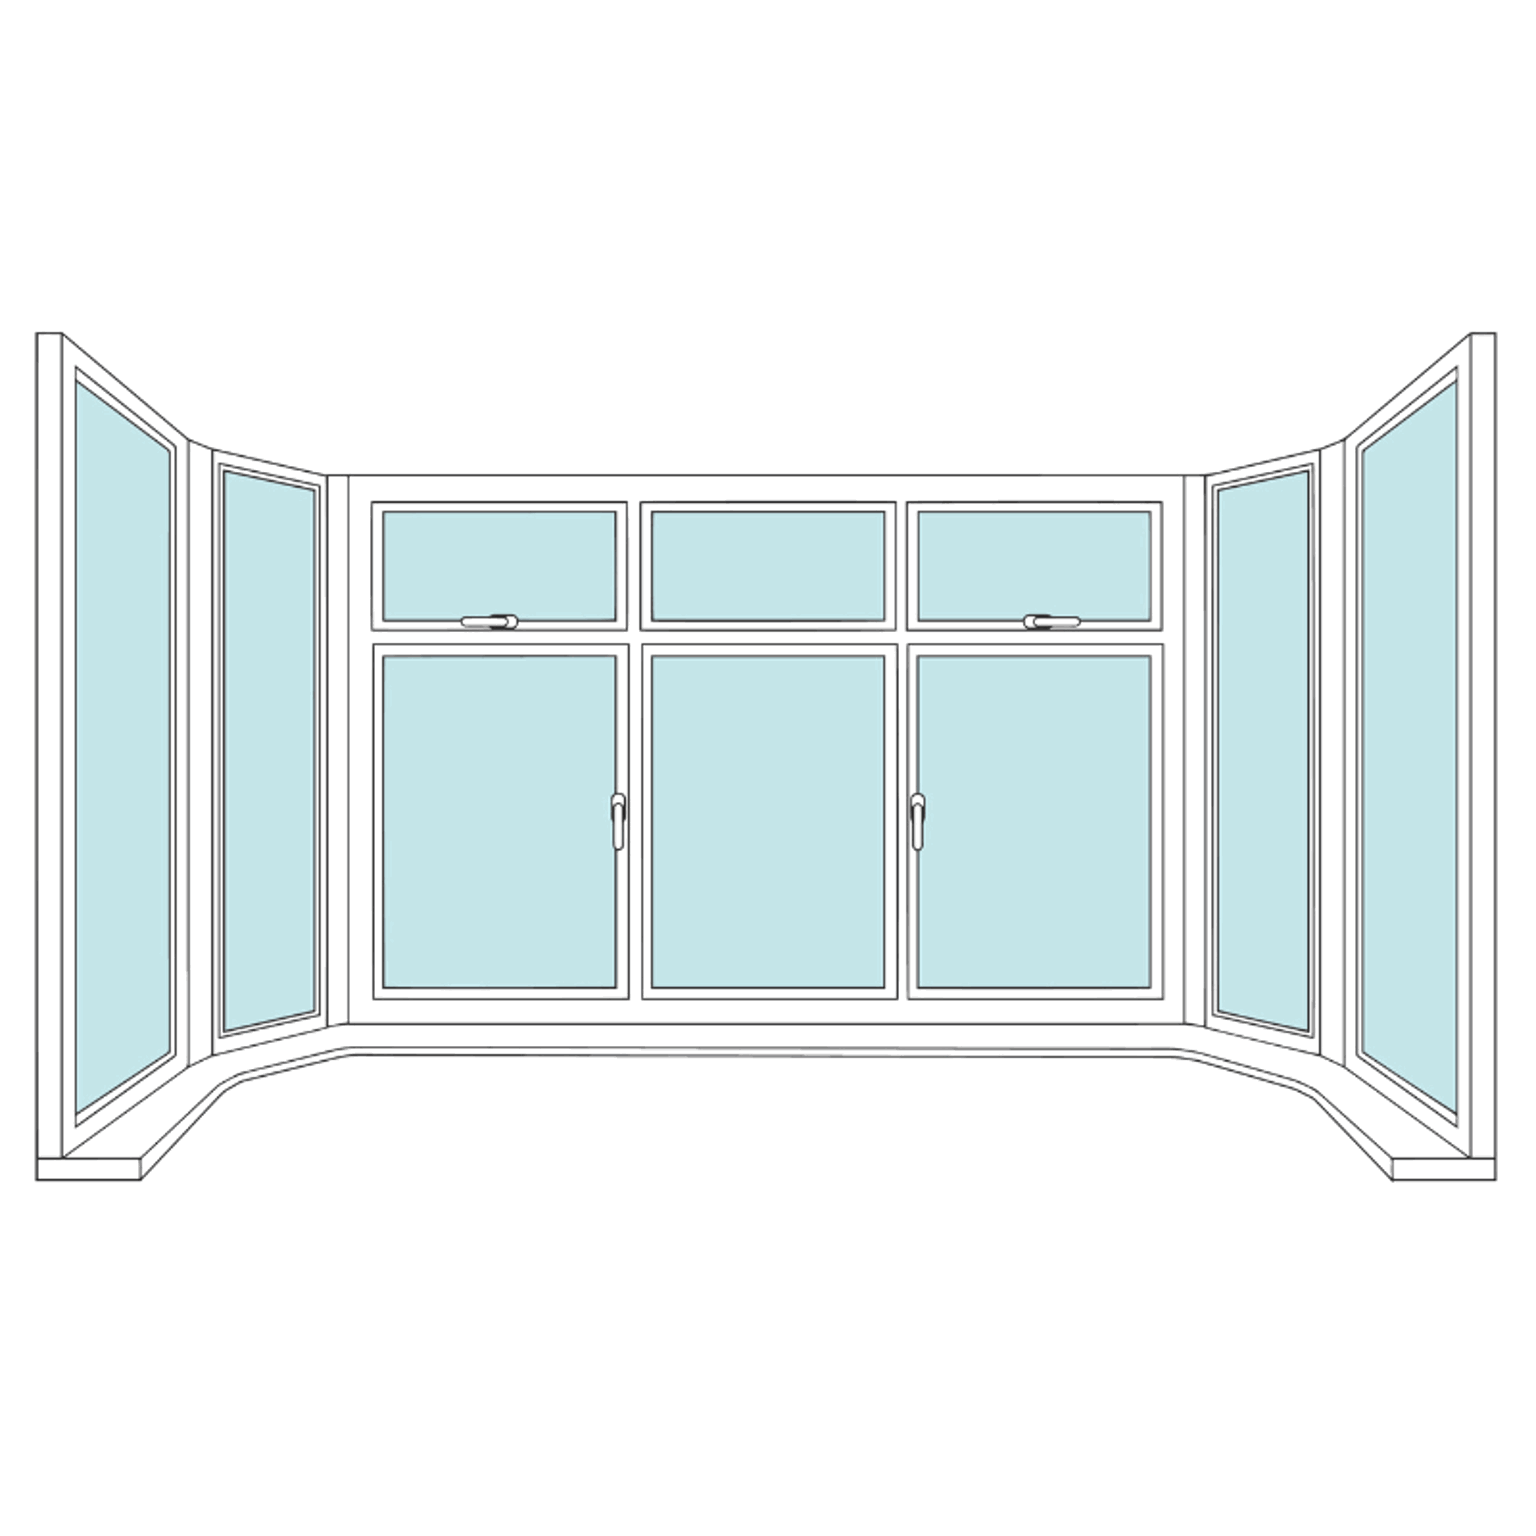
What is an Angled or Curved Bay?
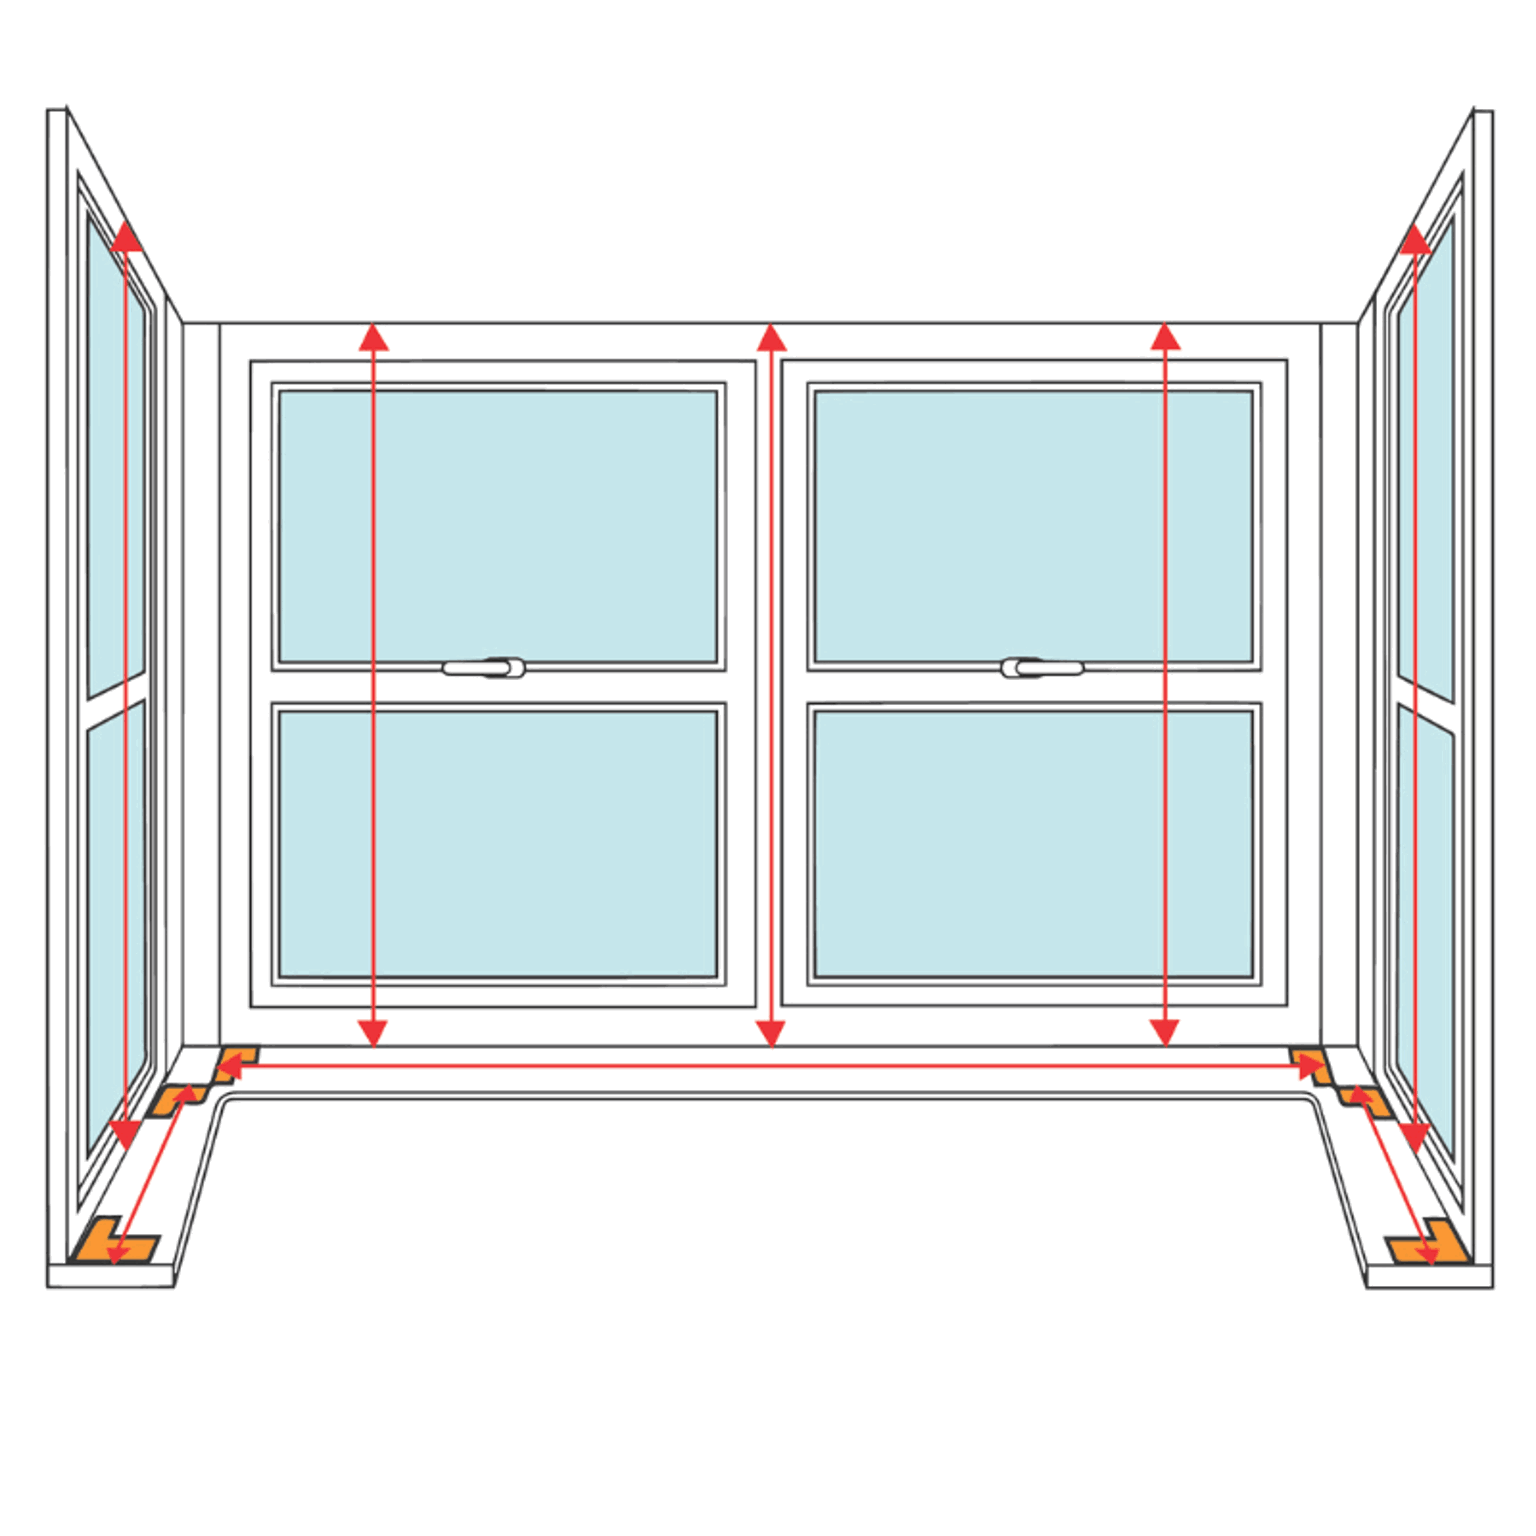
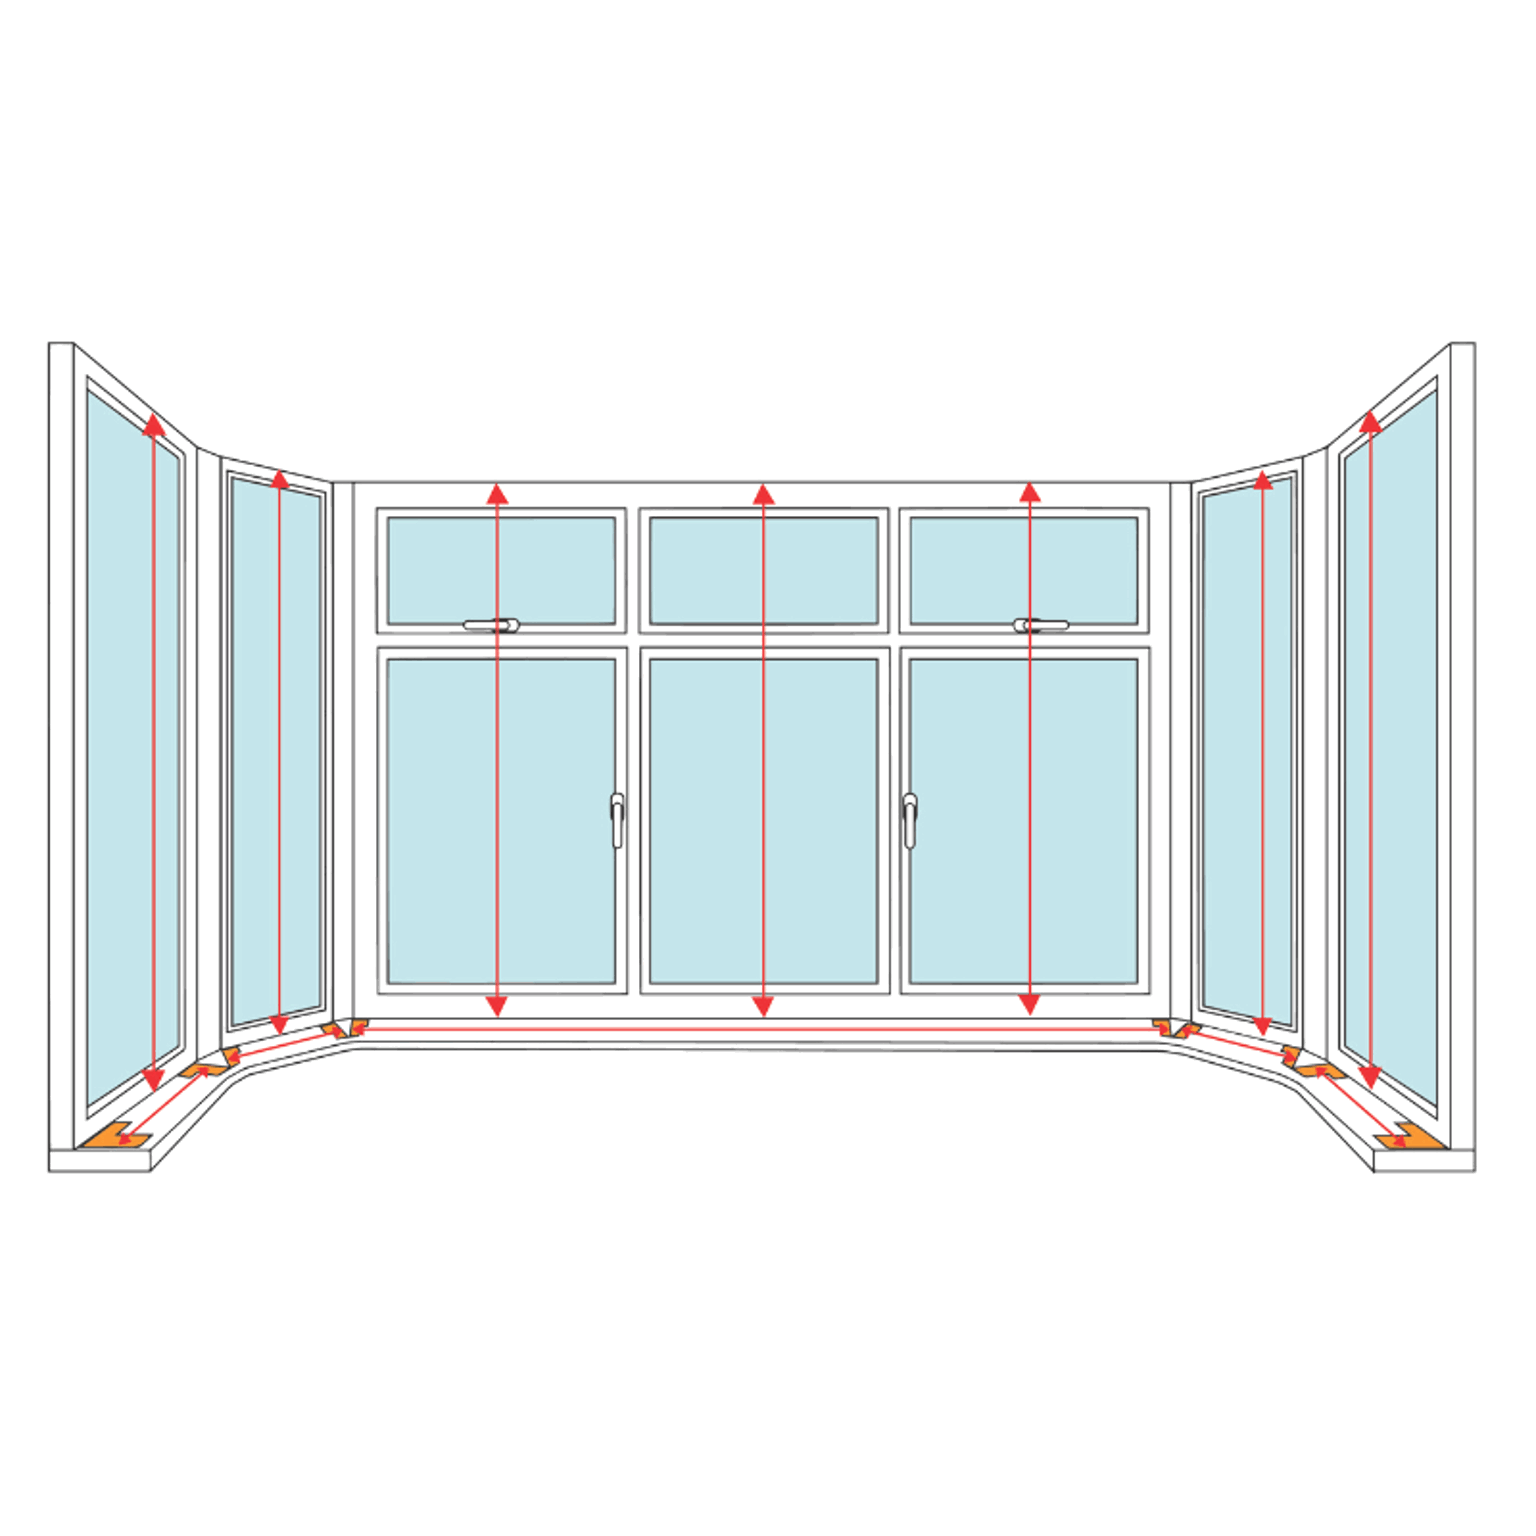
An angled or curved bay has two or more windows joined at an angle (between 90° and 180°). To measure correctly, use our frame templates for each section of the bay.
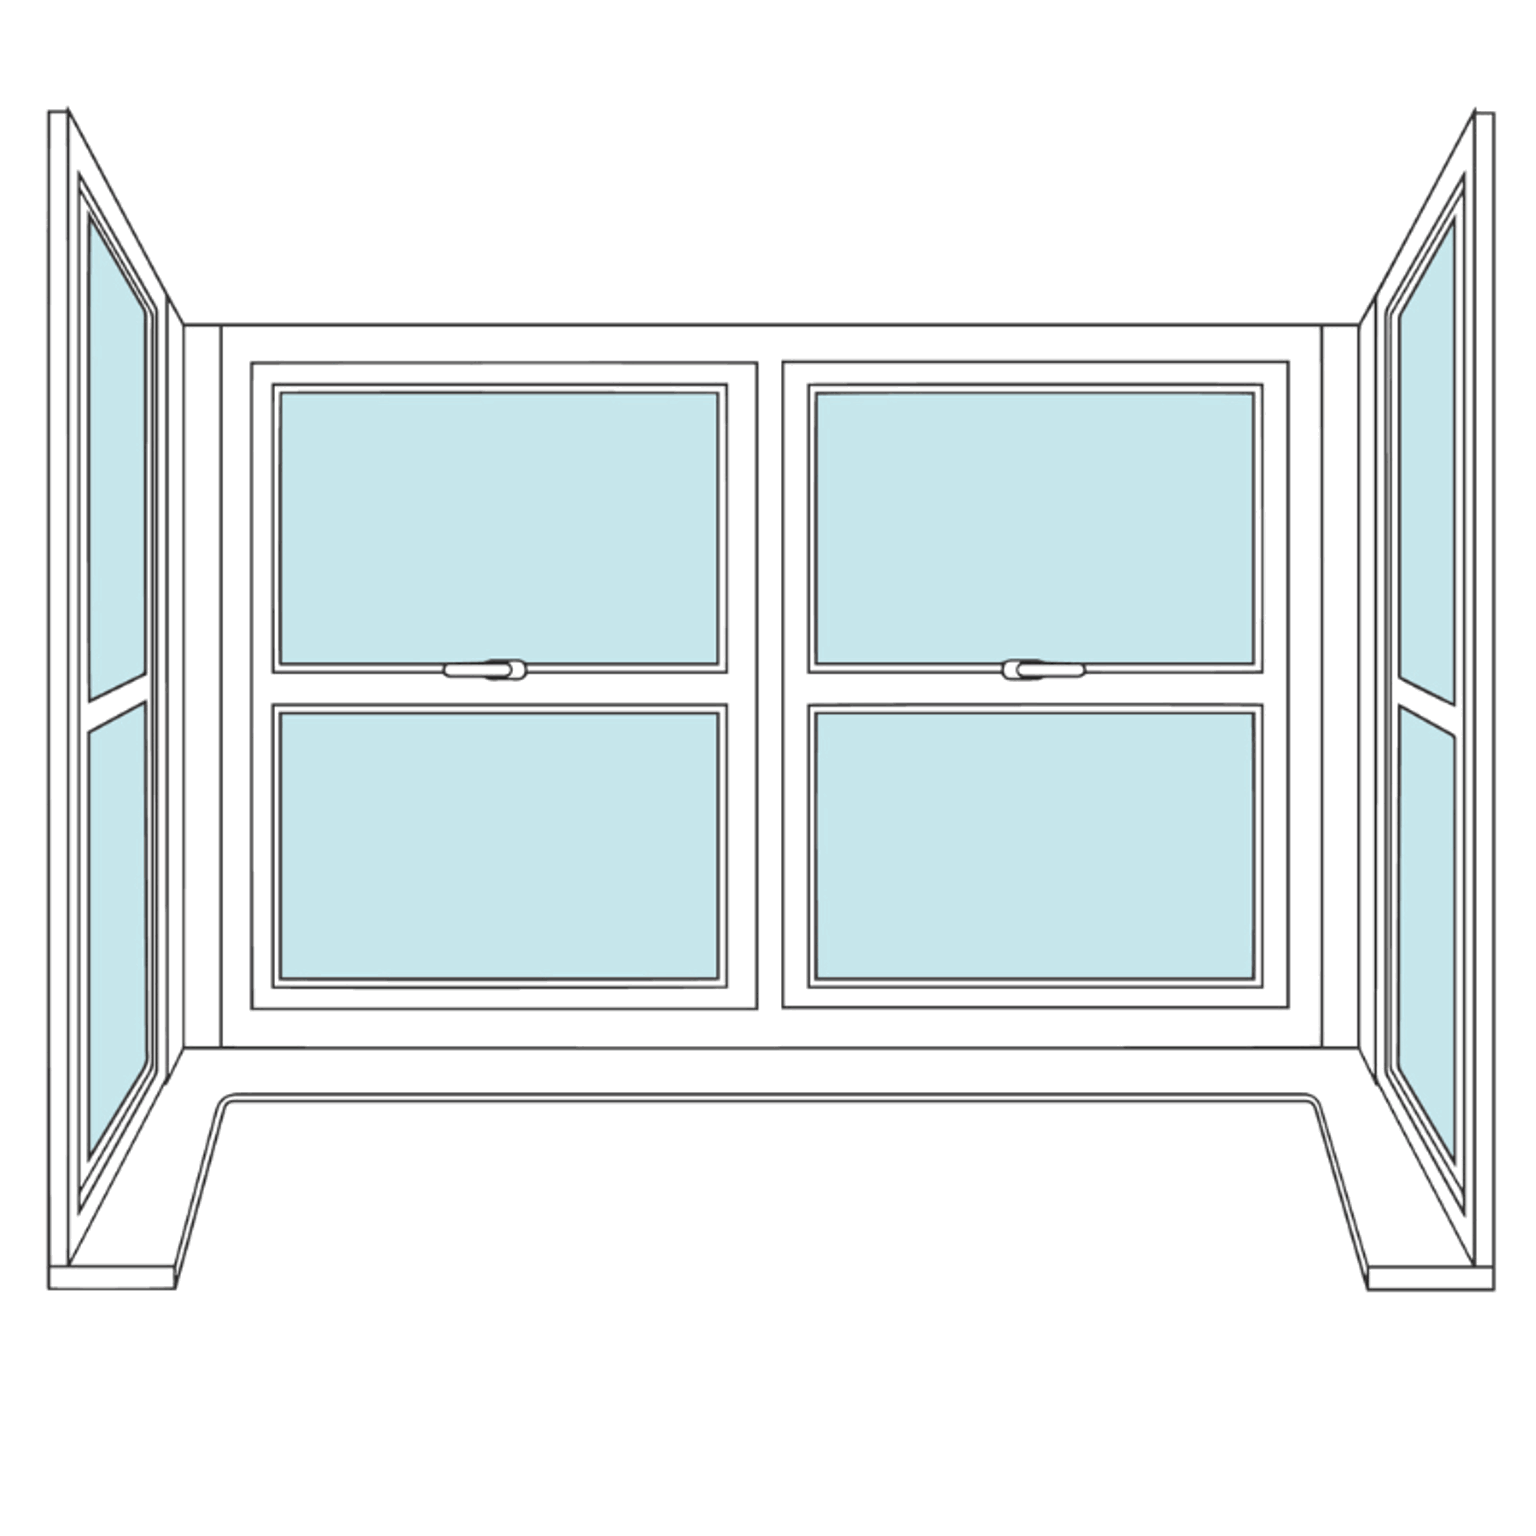
What is a Box Bay Window?
A box bay has two or more windows joined at a 90° angle. To measure correctly, use our frame templates for each section of the bay.
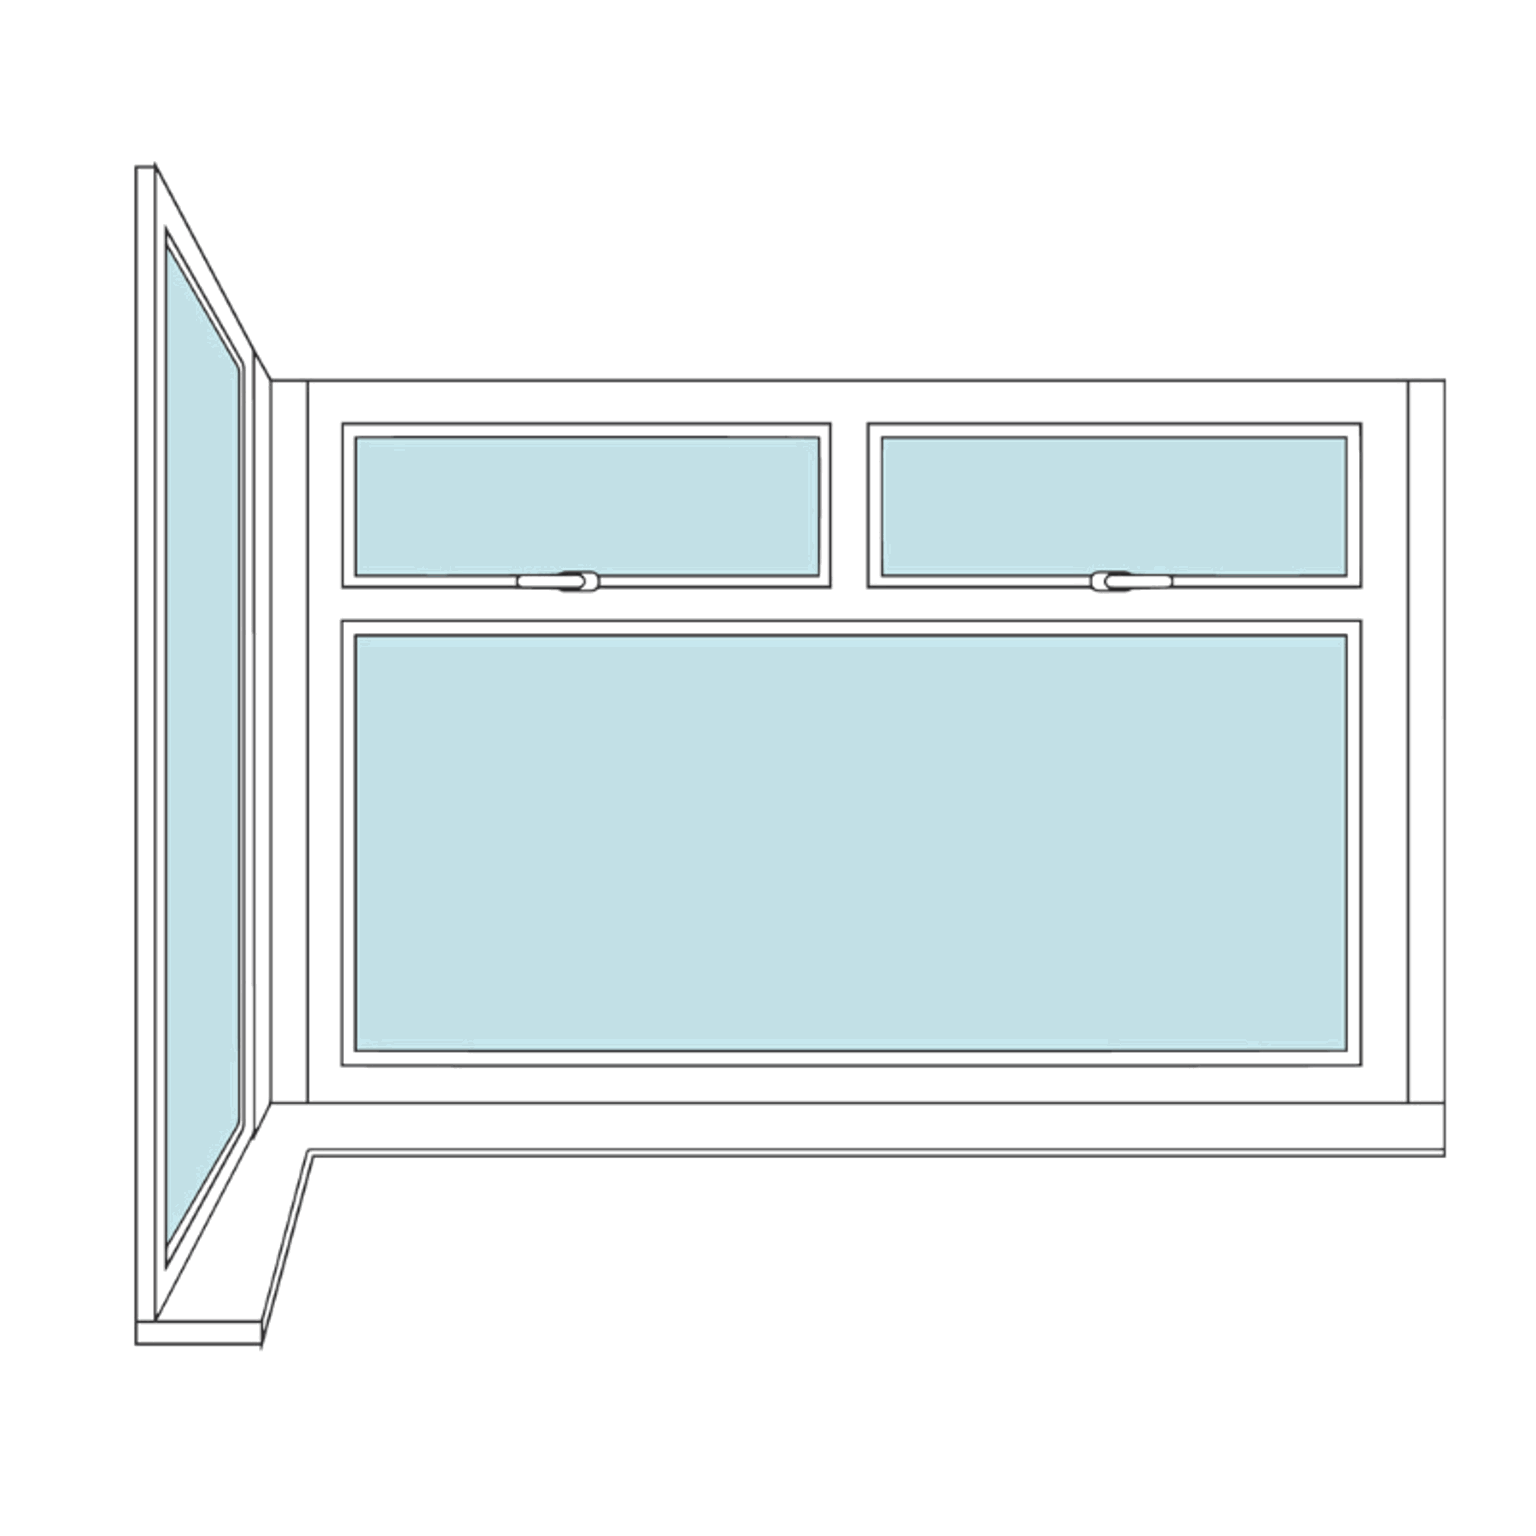


Ordering your bay window shutters
Bay window shutters are ordered in sections. Start by customising the shutter for your first window pane and add it to your basket. Then select “Create similar” to duplicate the shutter. From there, simply update the dimensions and configuration to match each section of your bay.
Important: Our Essential Faux Wood shutters are not suitable for bay windows.
What tools do I need?
- A good quality steel tape measure
- Pen and paper
- Templates (Optional)
Step 1: Choose your frame
In-Recess
Best suited to box bay windows, where panels meet at right angles. You’ll need to fix down into the window sill, the top of the bay (ceiling), and the side recess for a secure fit.
Fixings are hidden behind an inner cover strip. In some cases, you may need to drill extra fixings where frames meet to ensure stability.
Non-Recess
The Non-Recess frame is ideal for fitting shutters onto the architrave or directly to the window frames of your bay window. Remember, the frame screws are concealed behind the front cover strip.
The shutter will be secured directly to the window frame, so you'll need to check for slat clearance. You may need to upgrade to a ‘Large’ frame. We explain this below.
Step 2: Choose your slat size and frame depth
The right frame depth ensures your slats can tilt freely without hitting any obstructions.
Measure how far any obstructions (such as window handles) project out from the surface where the frame will be fitted (window frame, wall, or architrave).
Choose your frame based on your measurement:
- 0–9mm: Standard frame, any slat size
- 10–30mm: Large frame, any slat size
- 31–40mm: Large frame, 64mm slats only
- 40mm+: Contact us before ordering
Step 3: Measure the width
-
Position the templates as shown. They should sit flush against the window frames and meet at the corners without overlapping. Do NOT place templates directly below window handles.
-
Measure the width of each section, including the templates.
-
Deduct 2mm from the smallest width for each section. This is the size to use when ordering.
Step 4: Measure the height
-
Measure the height of each section. If measuring for Café Style shutters, measure from the bottom of the opening to where you want the shutters to finish.
-
Use the smallest measurement. It’s important to use the same height for all sections to ensure the slats and rails align.
-
Deduct 4mm from the height. This is the size to use when ordering.
Important: If you’re measuring side-by-side windows, use the same height measurement for each shutter. Even small differences can affect slat quantities and panel layout, which may cause the shutters to look mismatched once installed.


Step 5: Mid rail and T-bar
A mid rail is a horizontal divider that splits the slats into top and bottom sections. If your full height shutter is over 1500mm, you’ll need to provide a mid rail position.
For shutters between 800mm and 1500mm, a mid rail is optional.
Important: The mid rail location may be adjusted by up to 45mm during manufacture to align with the slats.
A T-bar is a horizontal frame piece that separates the top and bottom panels on a tier-on-tier shutter.
If you’re ordering tier-on-tier, you’ll need to provide a T-bar position.
To measure, take the distance from the bottom of the opening to where you’d like the t-bar/mid rail to sit (centre point).