How to Measure Shutters for a Recessed Window
This guide is designed for standard recessed windows. It covers how to measure for both In-Recess and Front of Recess installations of our classic shutters. Follow the steps below to get your measurements right and achieve a perfect fit.
Do I have the right style of window for a Recess frame?
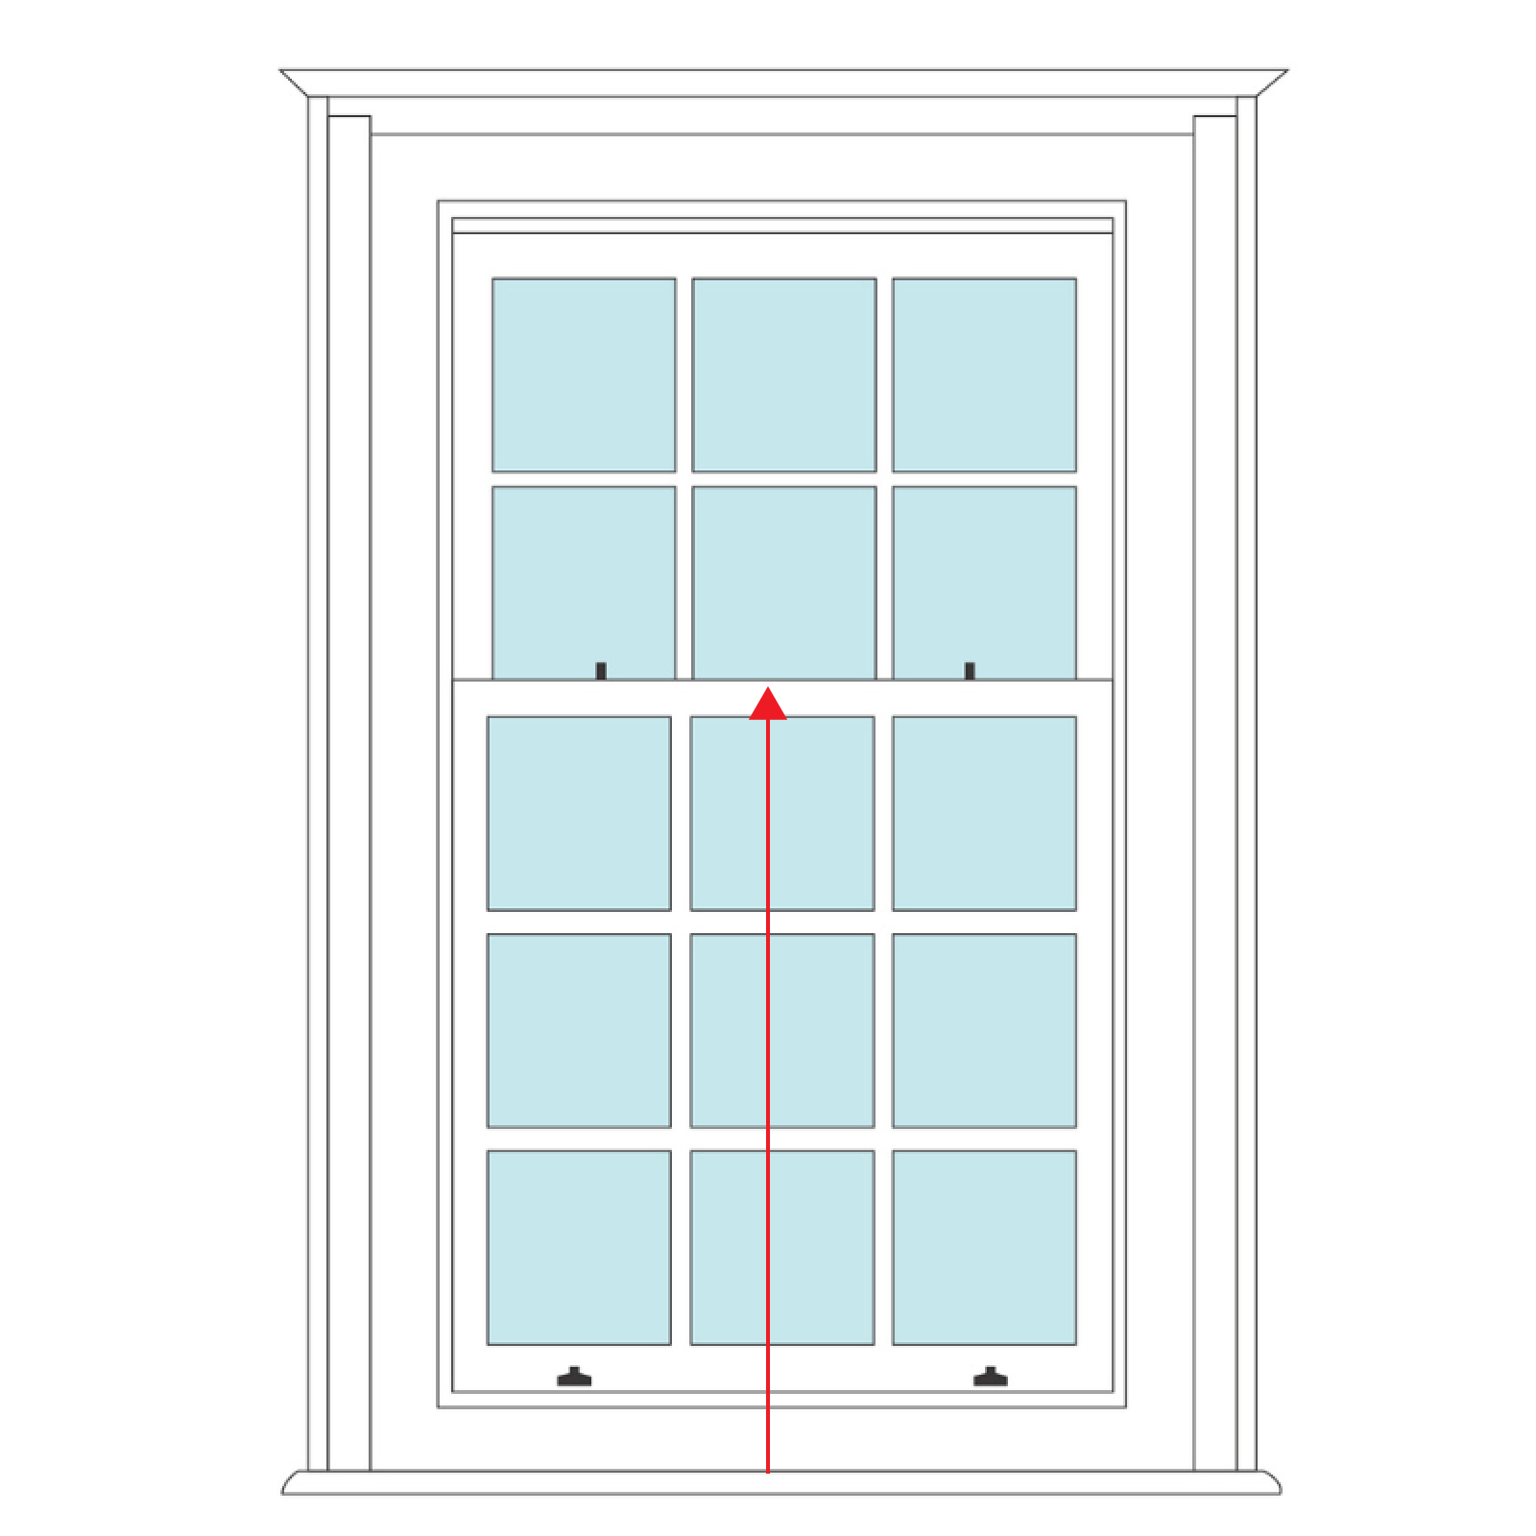
To install shutters inside the recess, your window needs to sit within a reveal (the space between the glass and the front edge of the wall).
You should have at least 60mm of clearance between any protruding window furniture (such as handles, locks or vents) and the front edge of the recess.
If your window opens inwards, fit your shutter frame using our non-recessed frame. This will sit outside of the recess to allow the window to open freely. Please visit our non-recessed measuring guide.
Which frame should I choose?
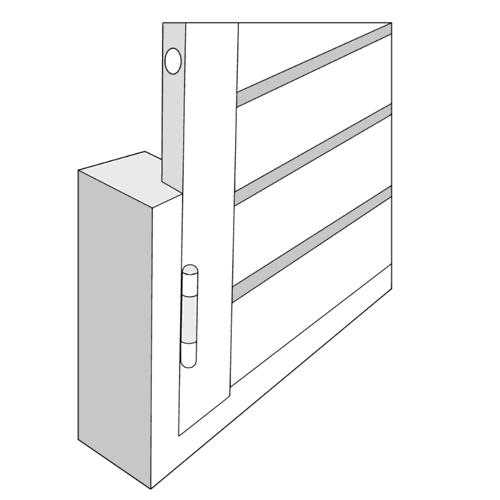
In-Recess
This frame is fitted inside the window recess. It can be positioned anywhere within the opening, as long as there is enough space for the slats to tilt freely without hitting the window, handles, locks or vents.
Front-of-Recess
This frame is fitted at the front of the recess. The panels can fold back fully against the wall, and the frame includes a lip that neatly wraps around the window, helping to conceal any small gaps.
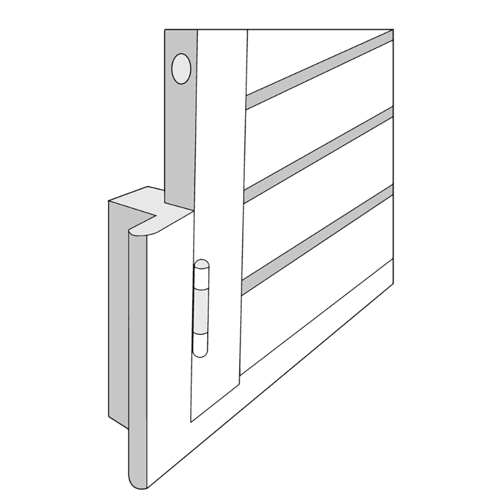
Important: No need to worry about protruding window sills. Our Front-of-Recess frames are designed to fit around them.
What tools you’ll need
A good quality steel tape measure
Pen and paper
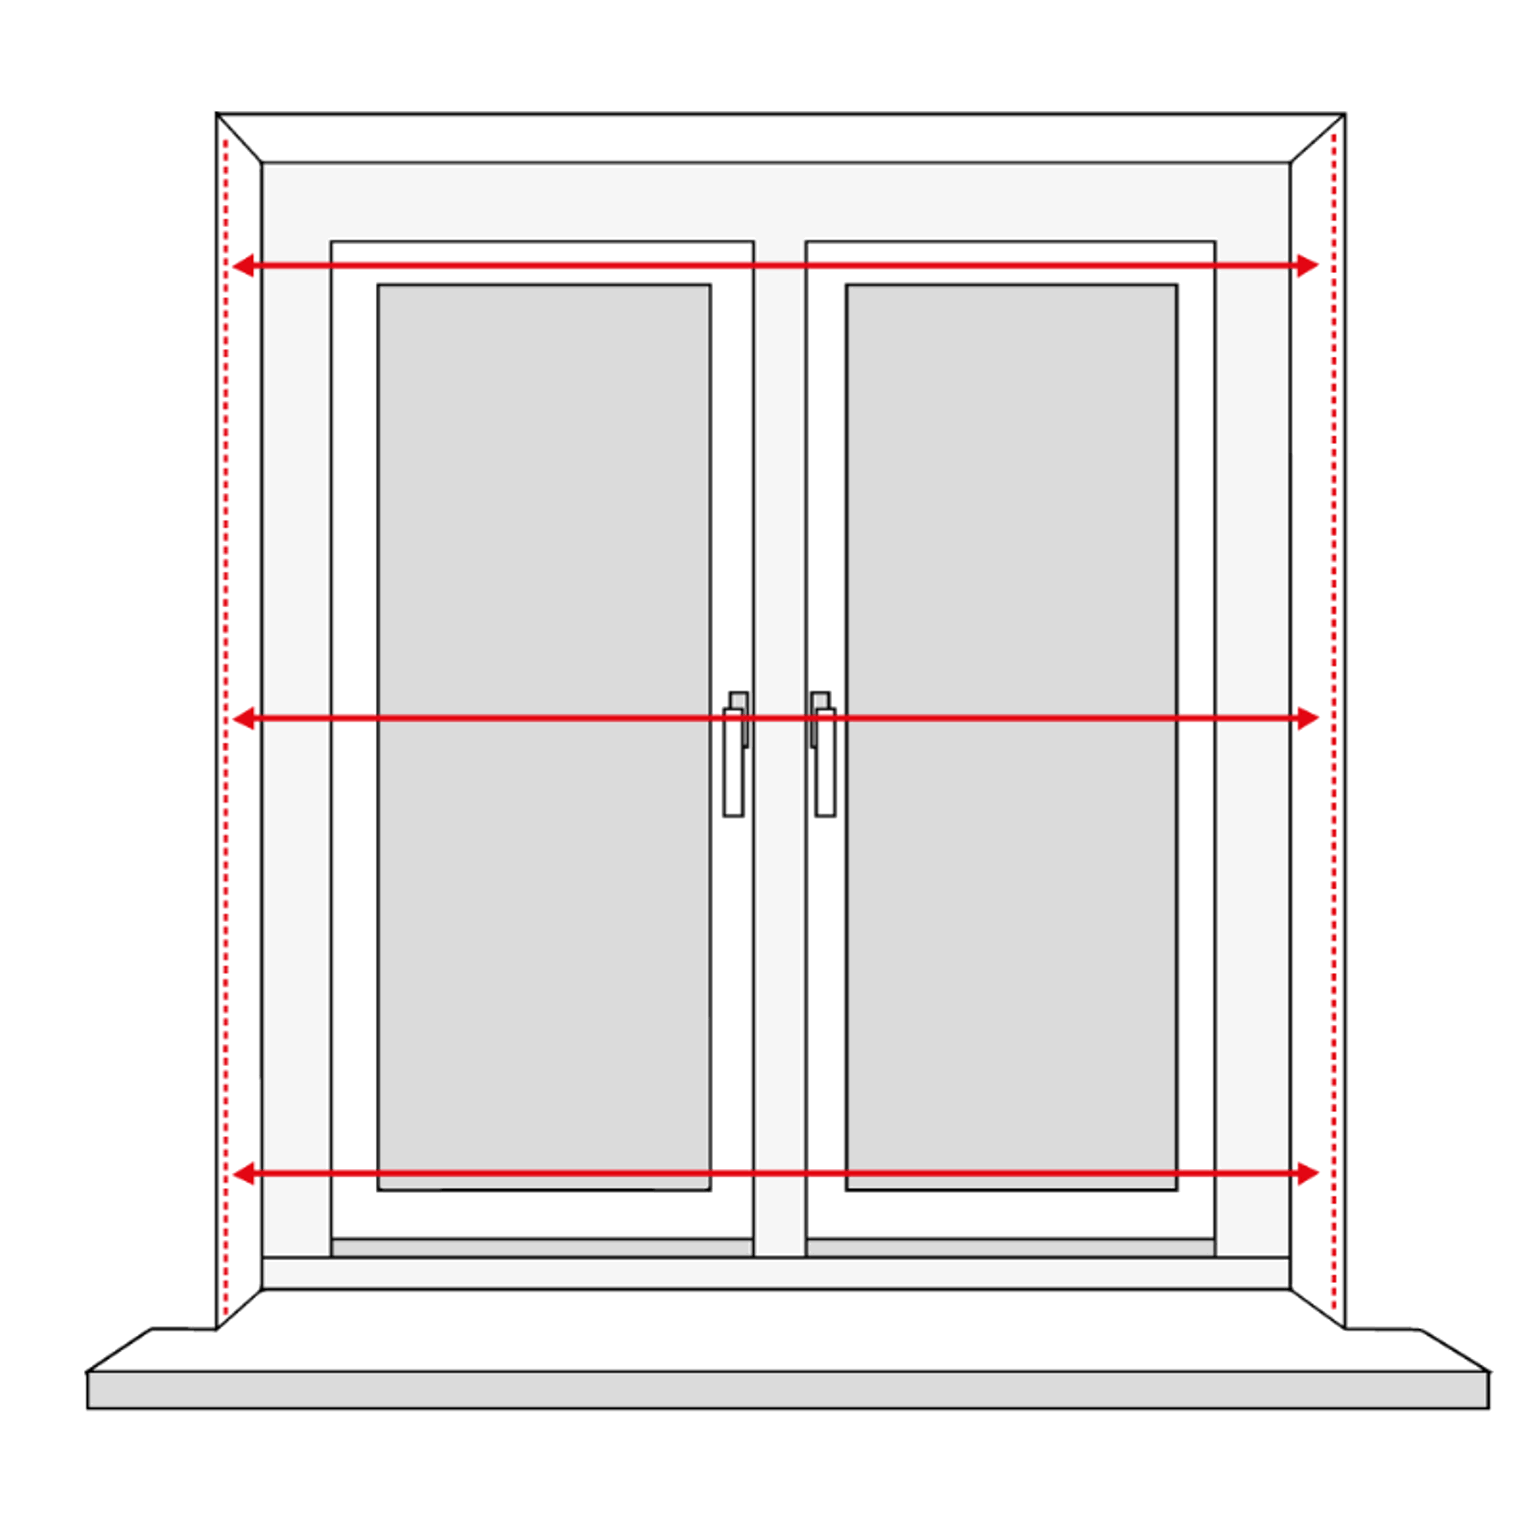
Step 1: Measure the width
- Measure the width of the recess in three places: Top, Middle, Bottom
- Use the smallest measurement.
Important: If there are picture rails, skirting boards or a kitchen upstand within the recess, you can remove them before measuring. If they remain in place, measure between these points and use the smallest width.
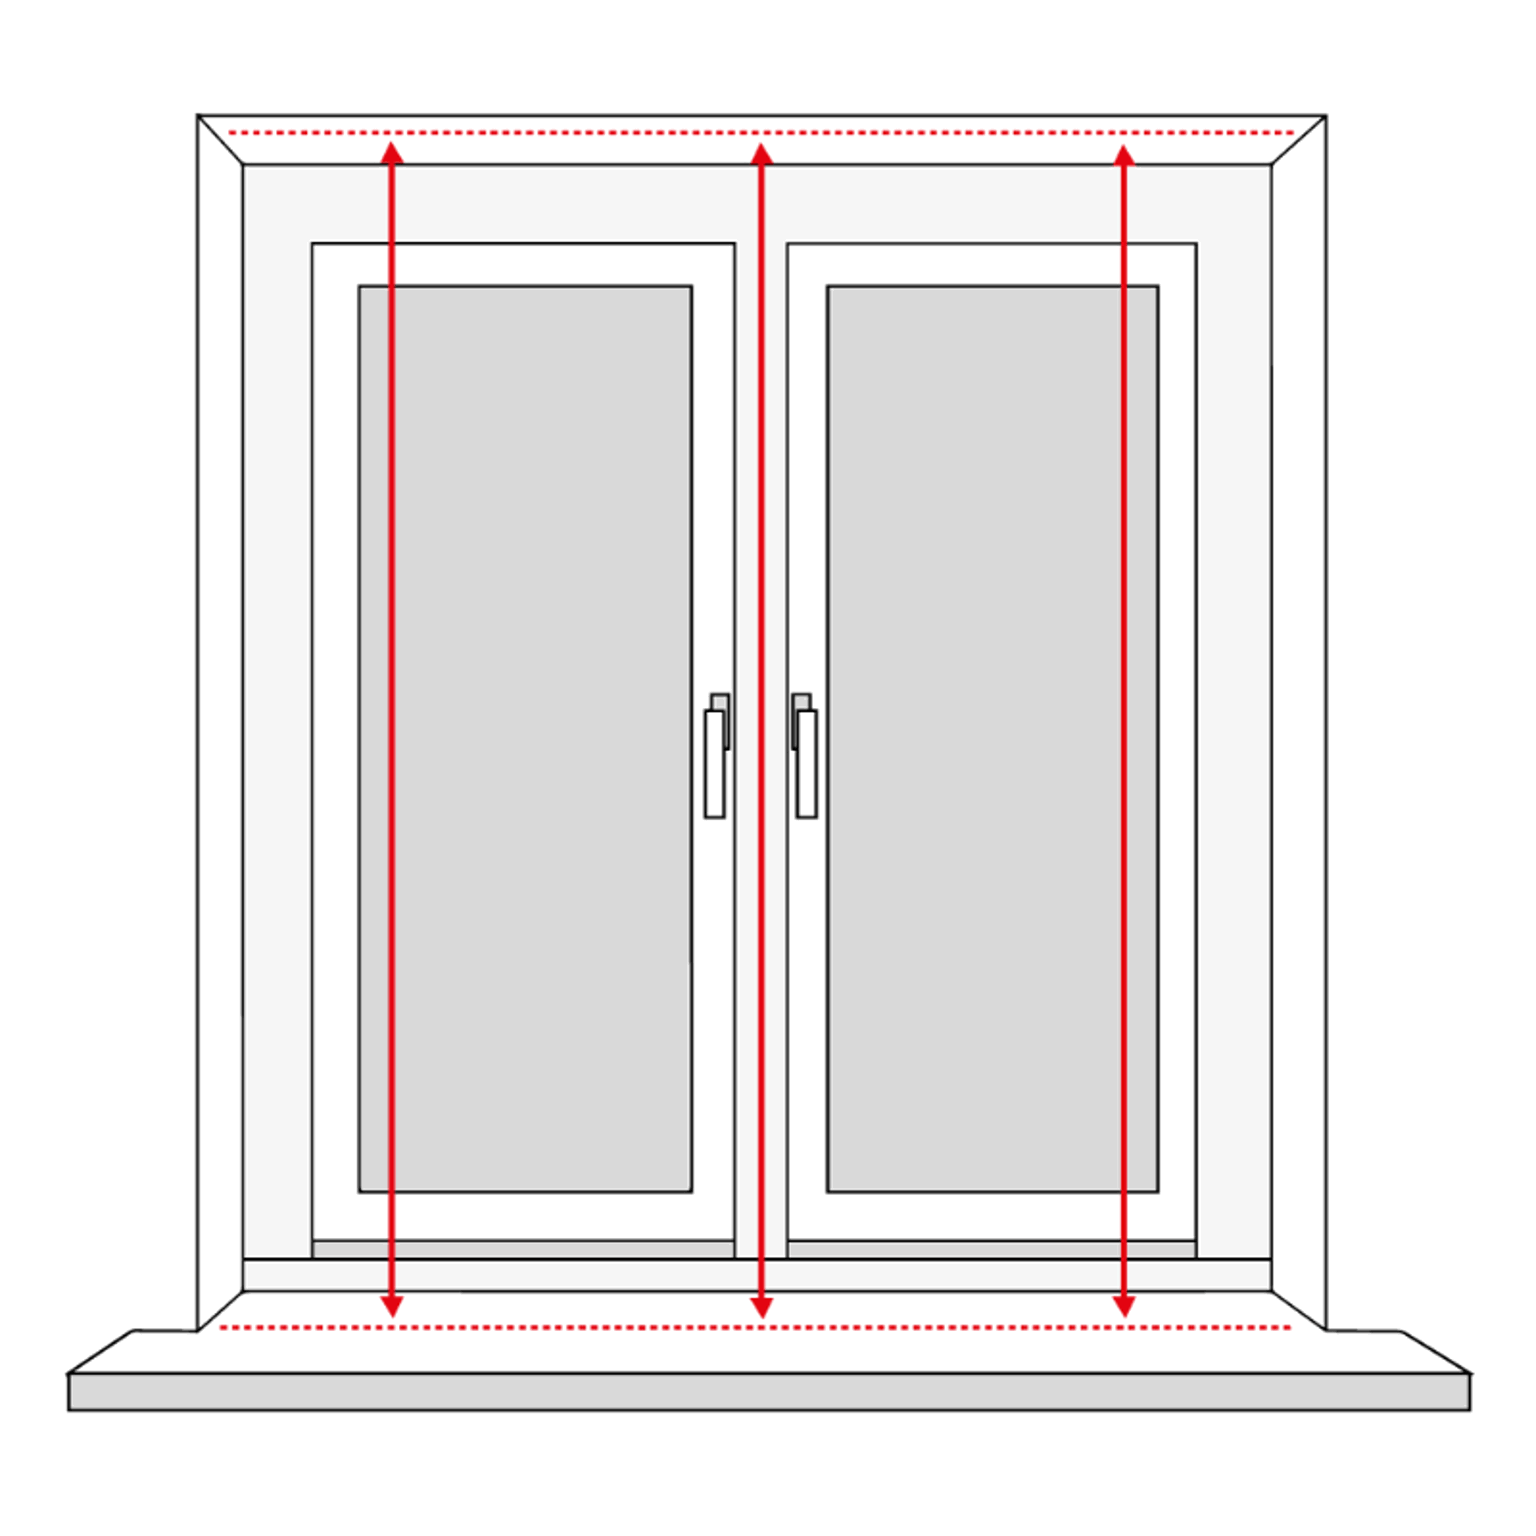
Step 2: Measure the height
- Measure the height of the recess in three places: Left, Middle, Right
- Use the smallest measurement.
If you’re measuring for café style shutters, measure from the window sill up to where you’d like the shutters to finish.
Important:If you’re measuring side-by-side windows, use the same height measurement for each shutter. Even small differences can affect slat quantities and panel layout, which may cause the shutters to look mismatched once installed.
Step 3: Apply deduction
Reduce your smallest width and height measurements by 4mm. These are the sizes to use when ordering.
Important: Measure the recess where the frame will sit. Also, measure the front opening to make sure the assembled frame can fit through.
Step 4: Mid Rail and T-Bar
A mid rail is a horizontal divider that splits the slats into top and bottom sections. If your full height shutter is over 1500mm, you’ll need to provide a mid rail position.
For shutters between 800mm and 1500mm, a mid rail is optional.
Important: The mid rail location may be adjusted by up to 45mm during manufacture to align with the slats.
A T-bar is a horizontal frame piece that separates the top and bottom panels on a tier-on-tier shutter. If you’re ordering tier-on-tier, you’ll need to provide a T-bar position.
To measure, take the distance from the bottom of the opening to where you’d like the t-bar/mid rail to sit (centre point).